Good news for bloggers! You can pull your blog content directly into your CLEAN Theme. HubSpot will guide you through the process so your copy, tags, author, featured image, and meta description carries over. Here’s how it works:
Start by creating your blog. Under your marketing tab, go to Website and then Blog. Hit the big orange Create button in the upper right corner and select Blog post.
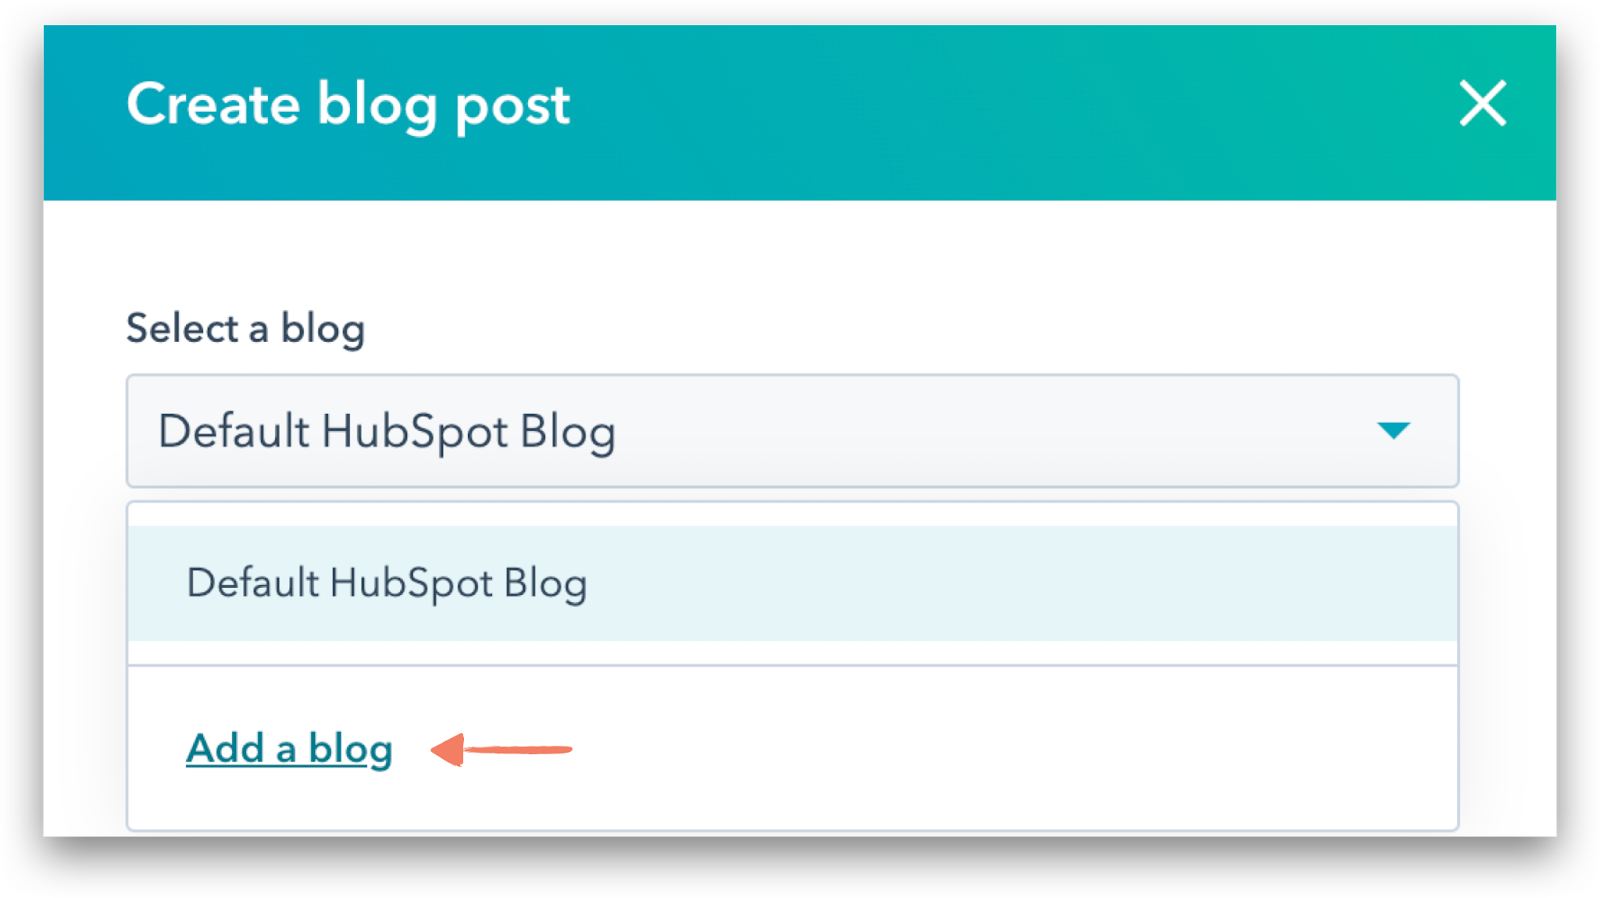
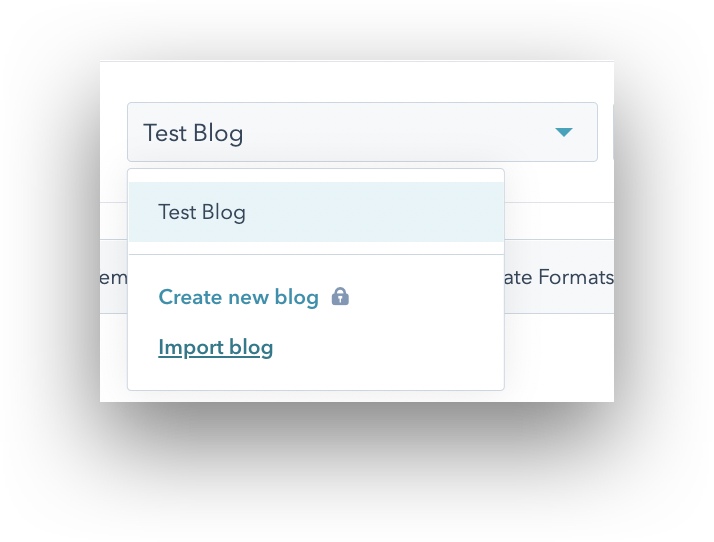
The Default HubSpot Blog will come up automatically but click the drop-down arrow and you’ll see an option to Add a blog. Click it.
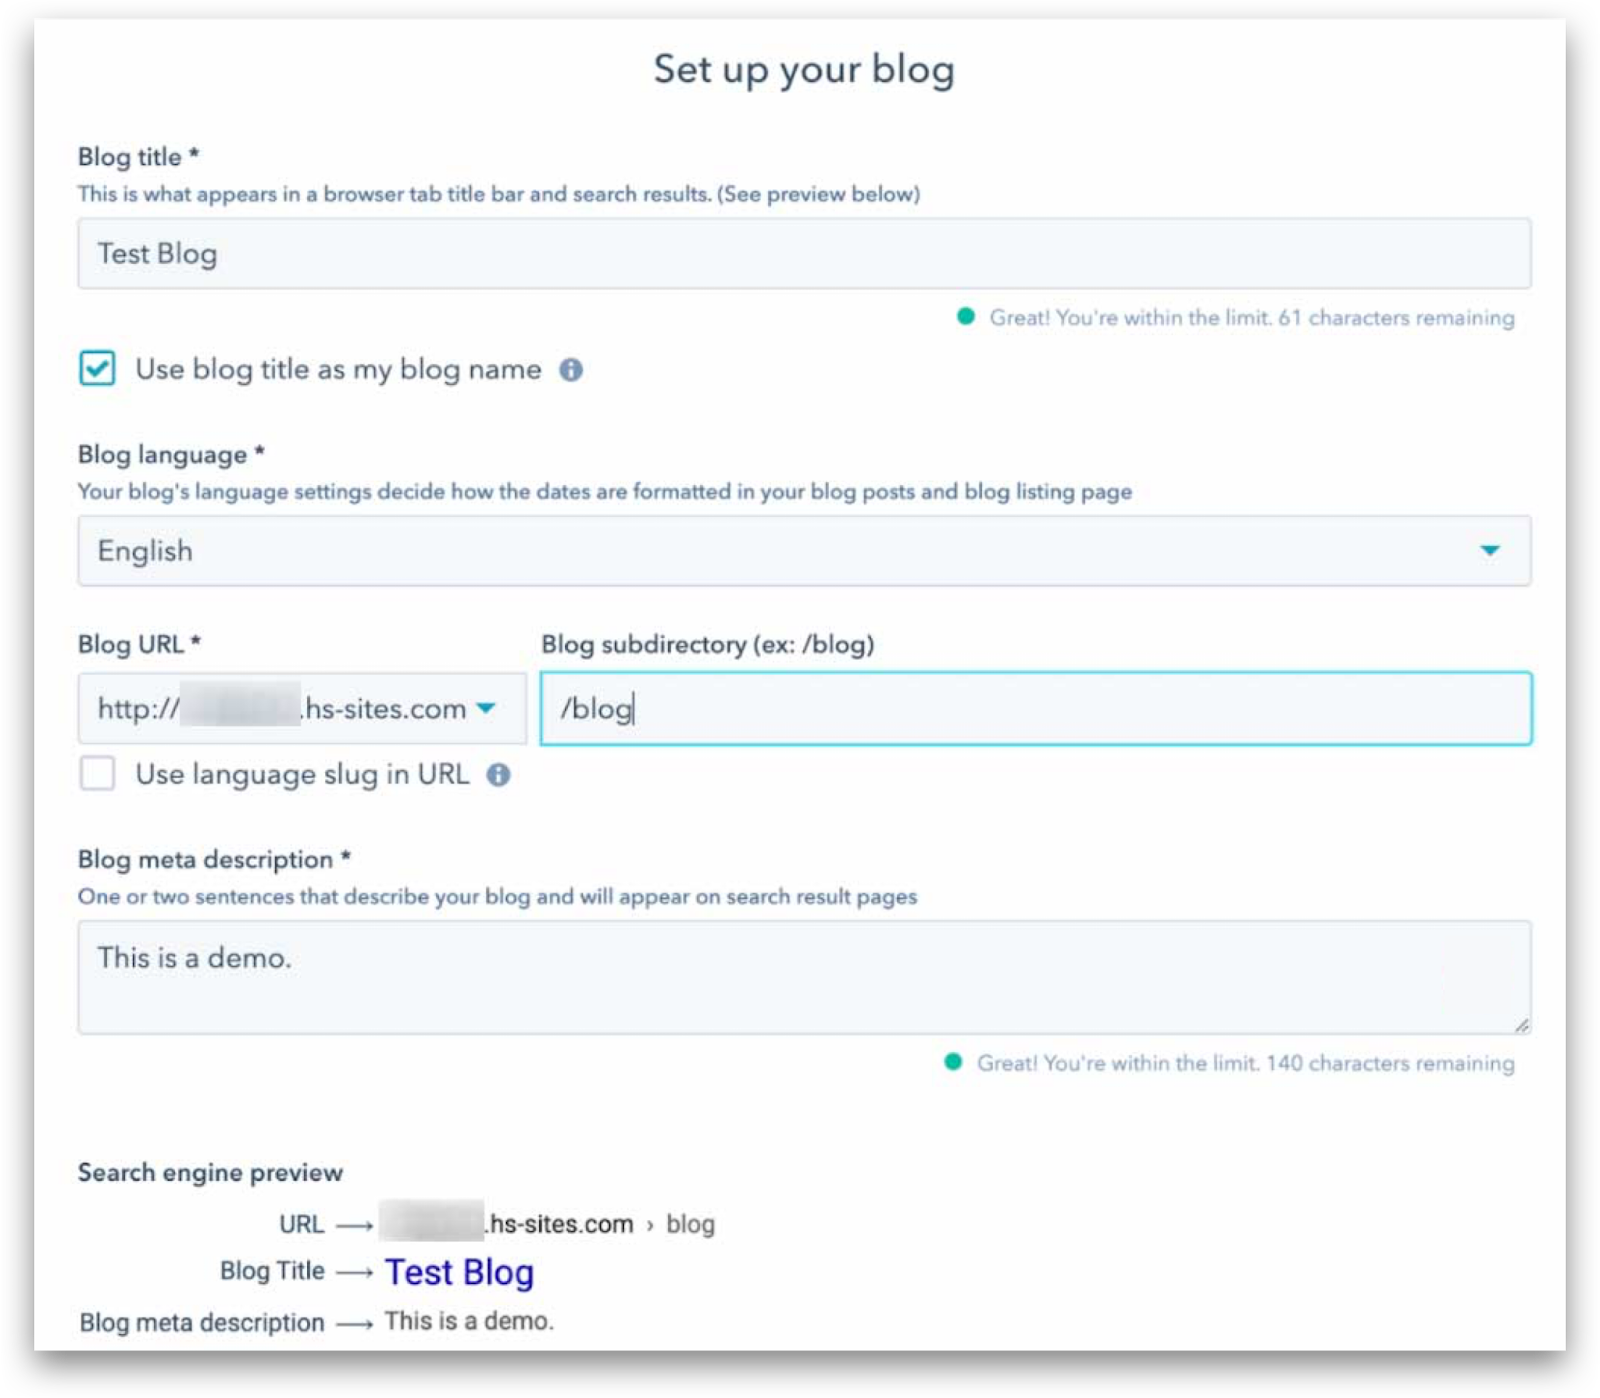
Next, you’ll be prompted to set a name for your blog, a default language, and a meta description.
Hit the orange Next button to choose a theme for your blog. We recommend using your company’s child theme. What’s this?
Then select a blog post page template…
…And a listing page template. Hit Create blog.
Next, click Import existing blog.

If this is your first HubSpot blog, skip ahead to the next step. But what if you already have a blog set up in HubSpot? You can still import individual posts.
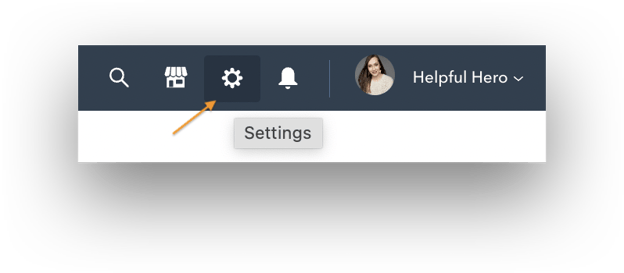
Click the gear icon in the upper right corner of your screen to go to your settings.
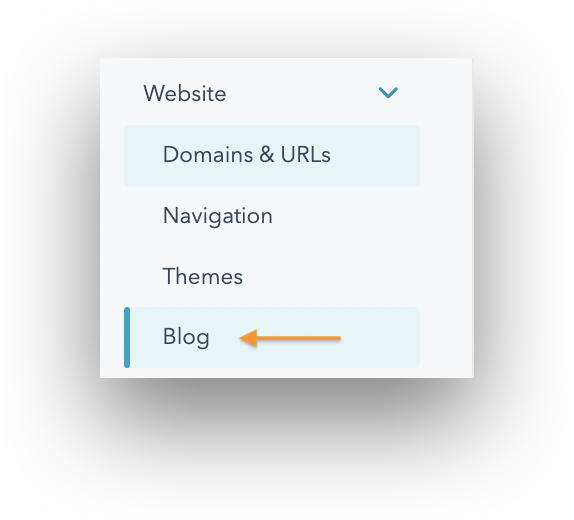
Then pick Blog under the Website tab in the lefthand column.
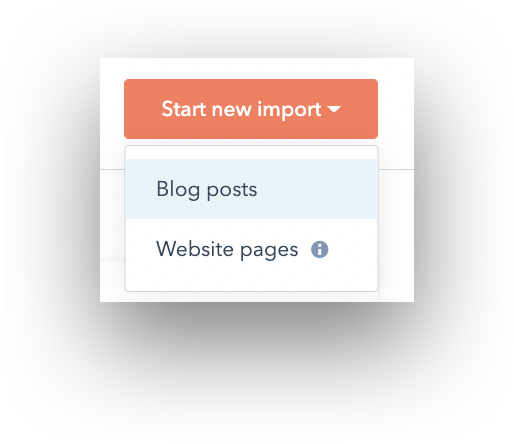
You'll see your blog settings appear. With the current (already imported) blog selected, hit import blog → start new import → blog posts.
For most domains, Smart copy is the easiest import option (unless your blog URL contains hashtags or dot-separated dates). If your blog is on WordPress, use the WordPress connect option.

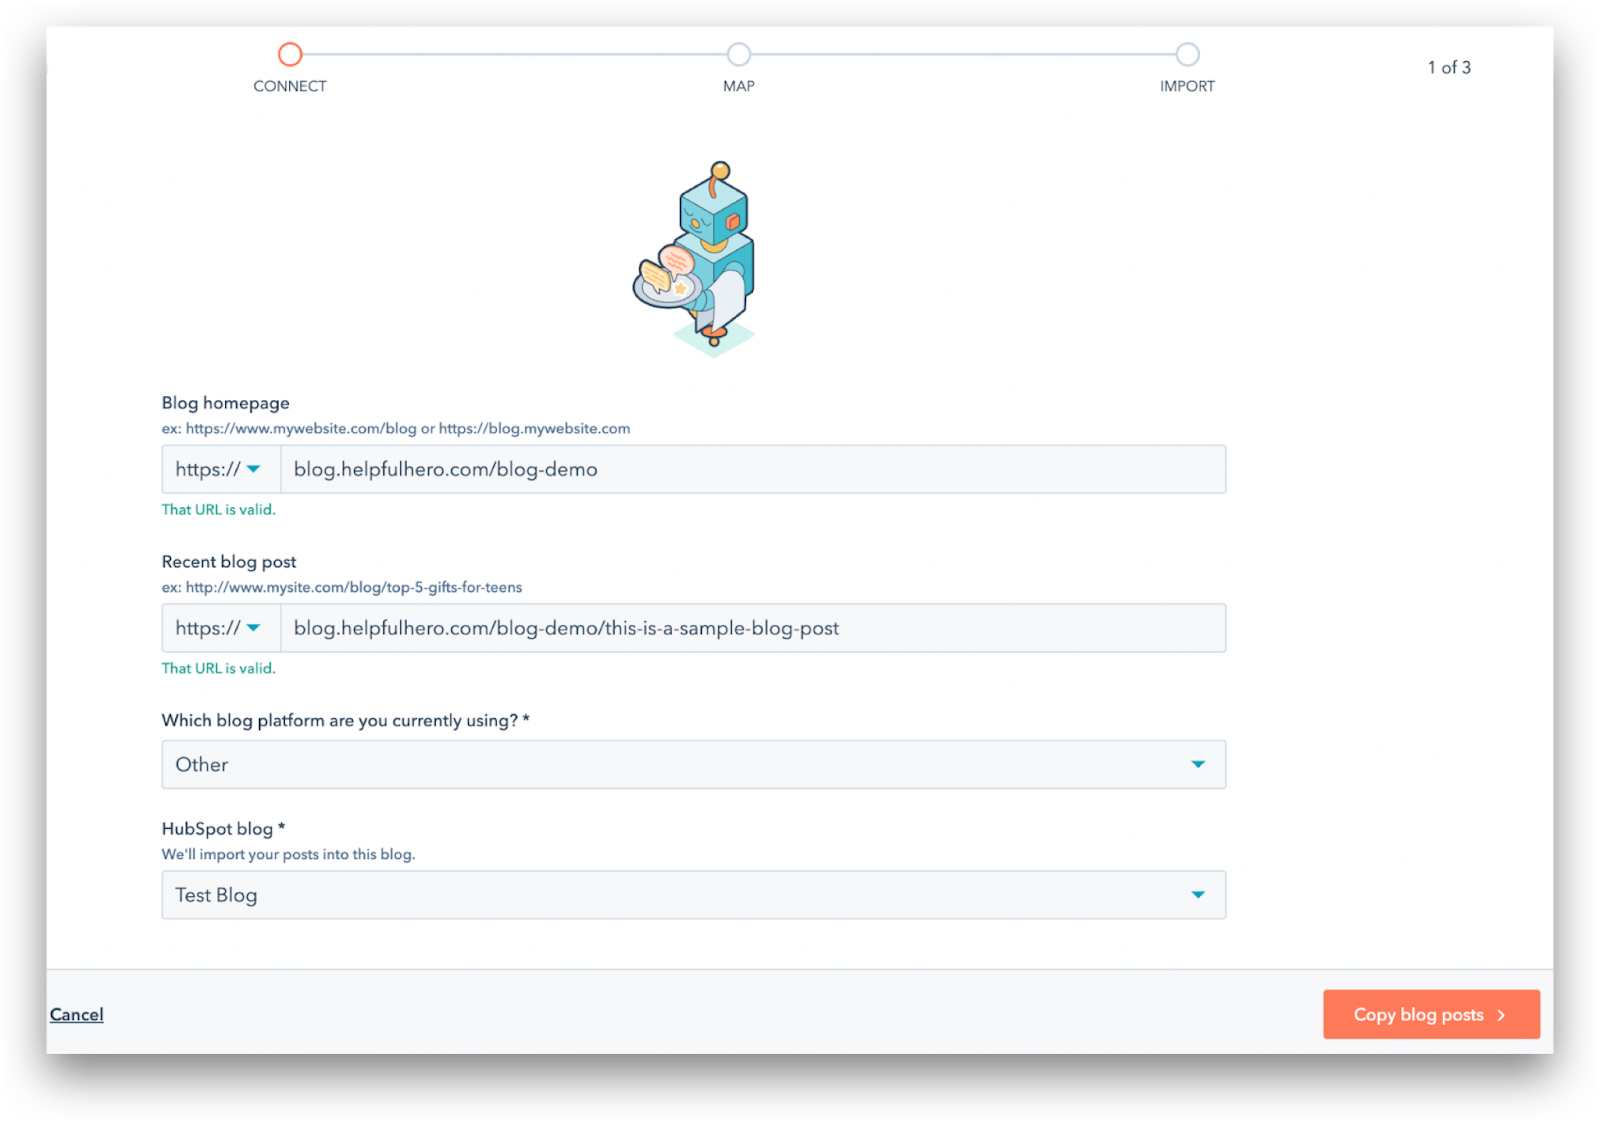
Set up your import by copying and pasting your blog URL, selecting your current blog platform, and the HubSpot blog you’d like to import your posts into.
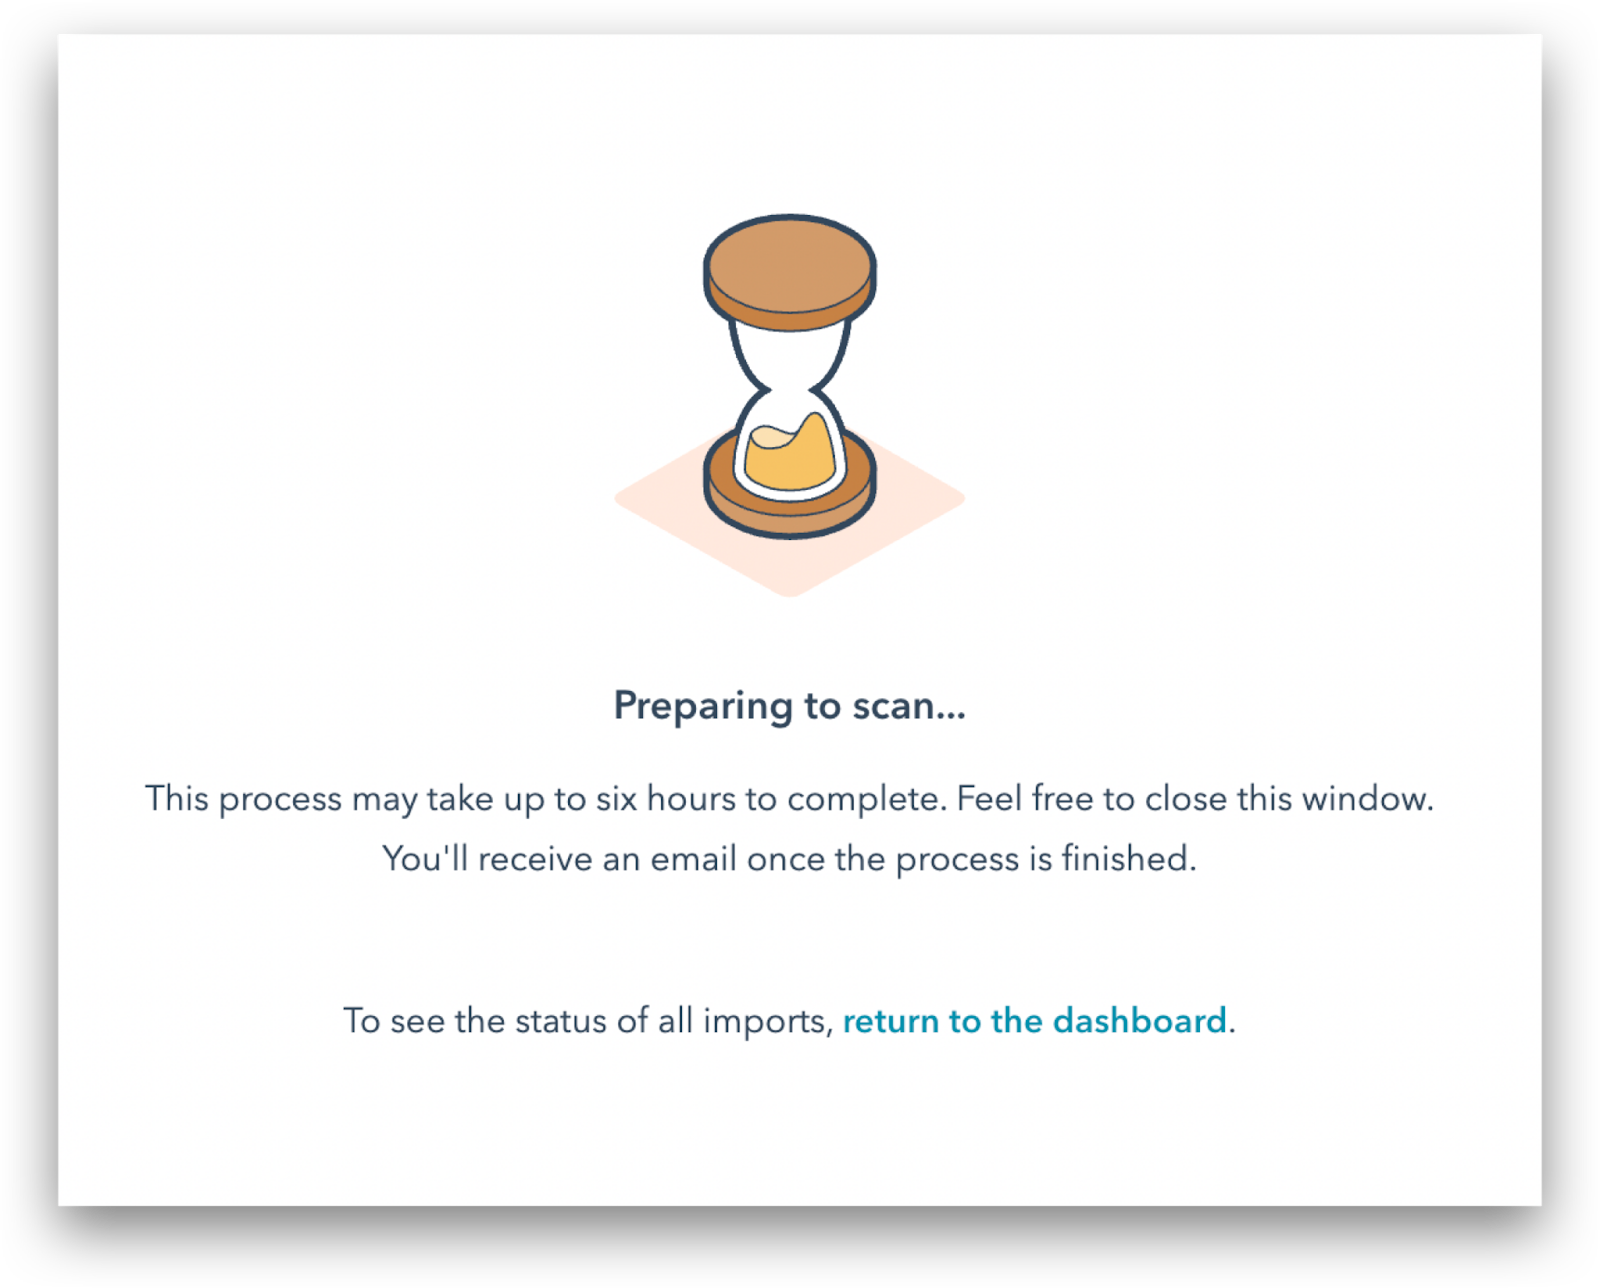
You’ll see HubSpot prepare to scan, so take a break and come back in a minute. Return to the dashboard to check the import status.
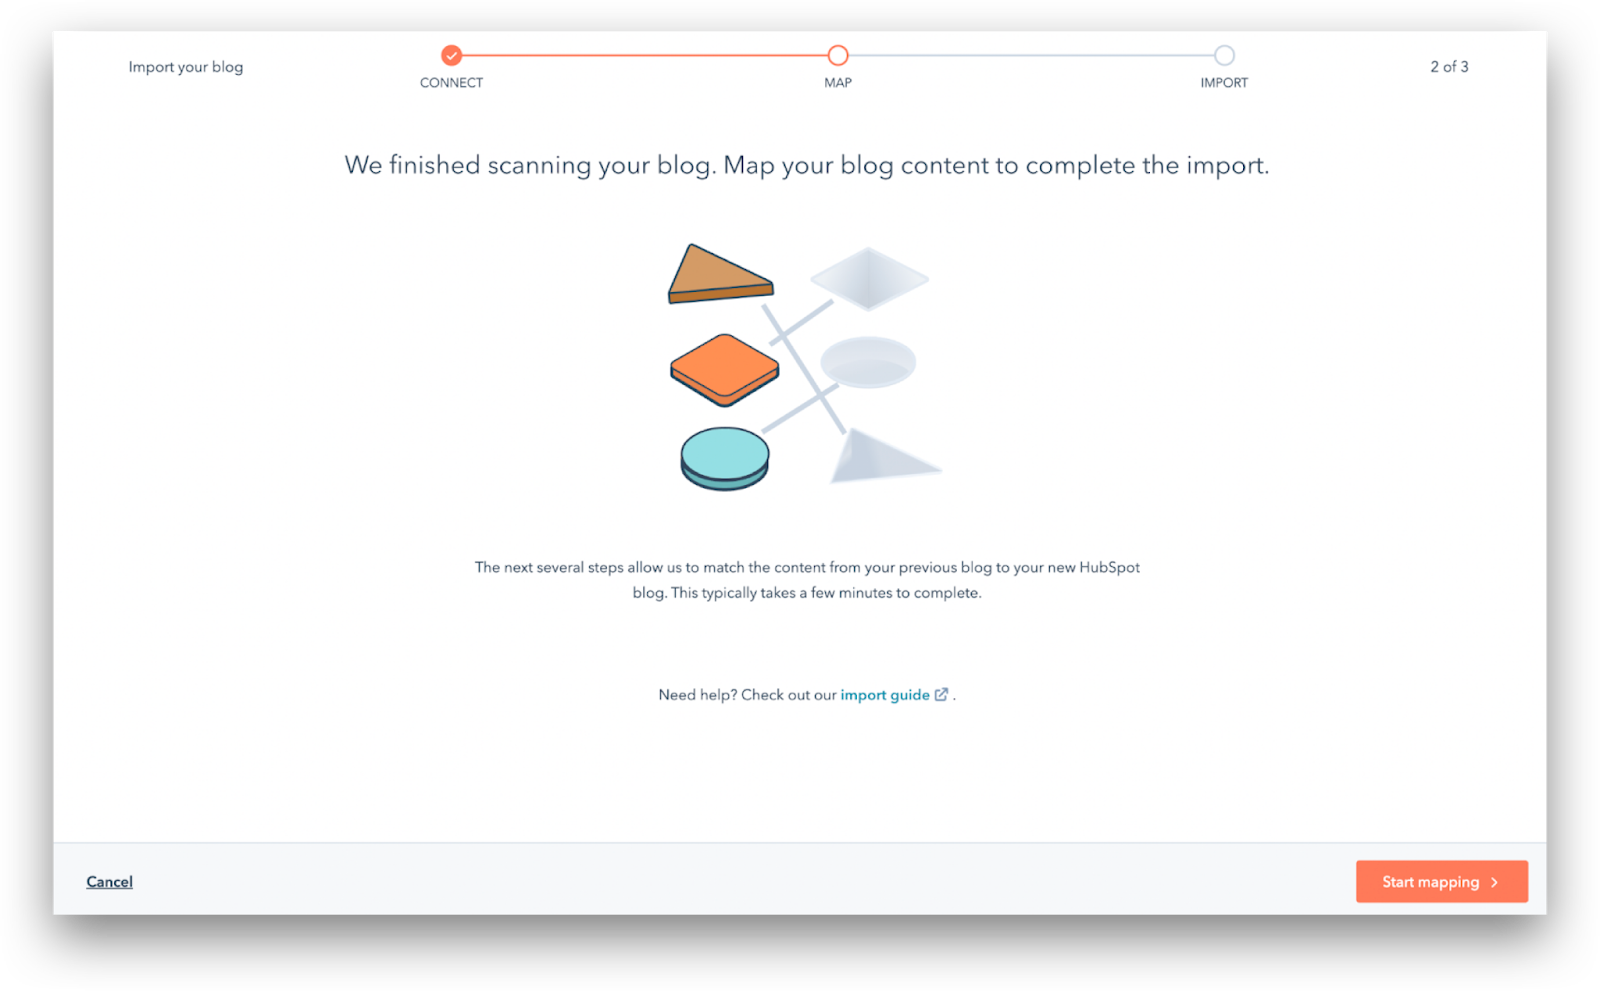
When the scan is complete, hit review results.

Next, you’ll map the blog content.
Click Start mapping and HubSpot will walk you through this step by step to check the blog post titles, authors, etc.
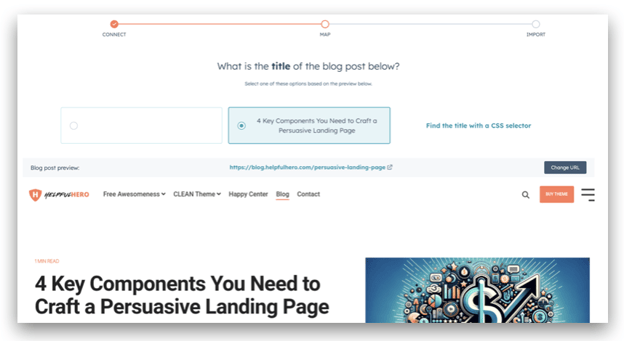
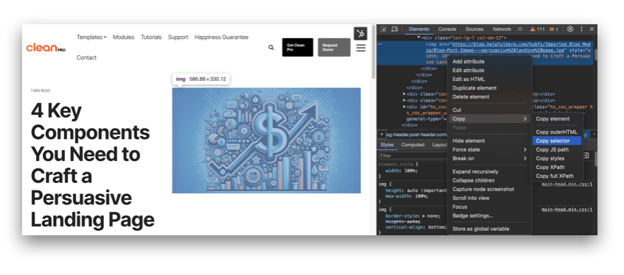
If you don’t see the author, tag, or image you’re looking for among the HubSpot options, don’t freak out. You can find it with a CSS selector, which isn’t as technical as it sounds. Simply head to the URL of the post you’re trying to import, right-click on the section you need, and hit Inspect. A window will pop up with a piece of highlighted code. Right-click again, select copy, then Copy selector.
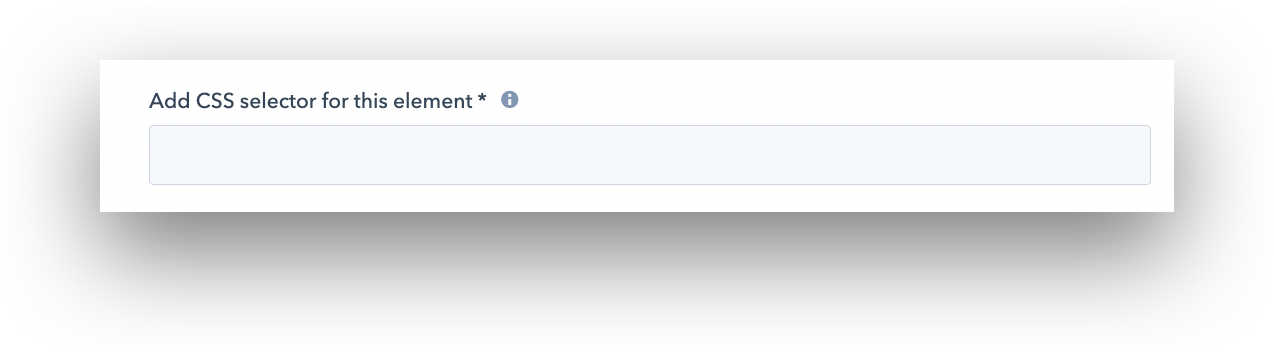
Then paste it into the box and you should be good to go.
When you’re done mapping your content, HubSpot will prepare your blog for import.
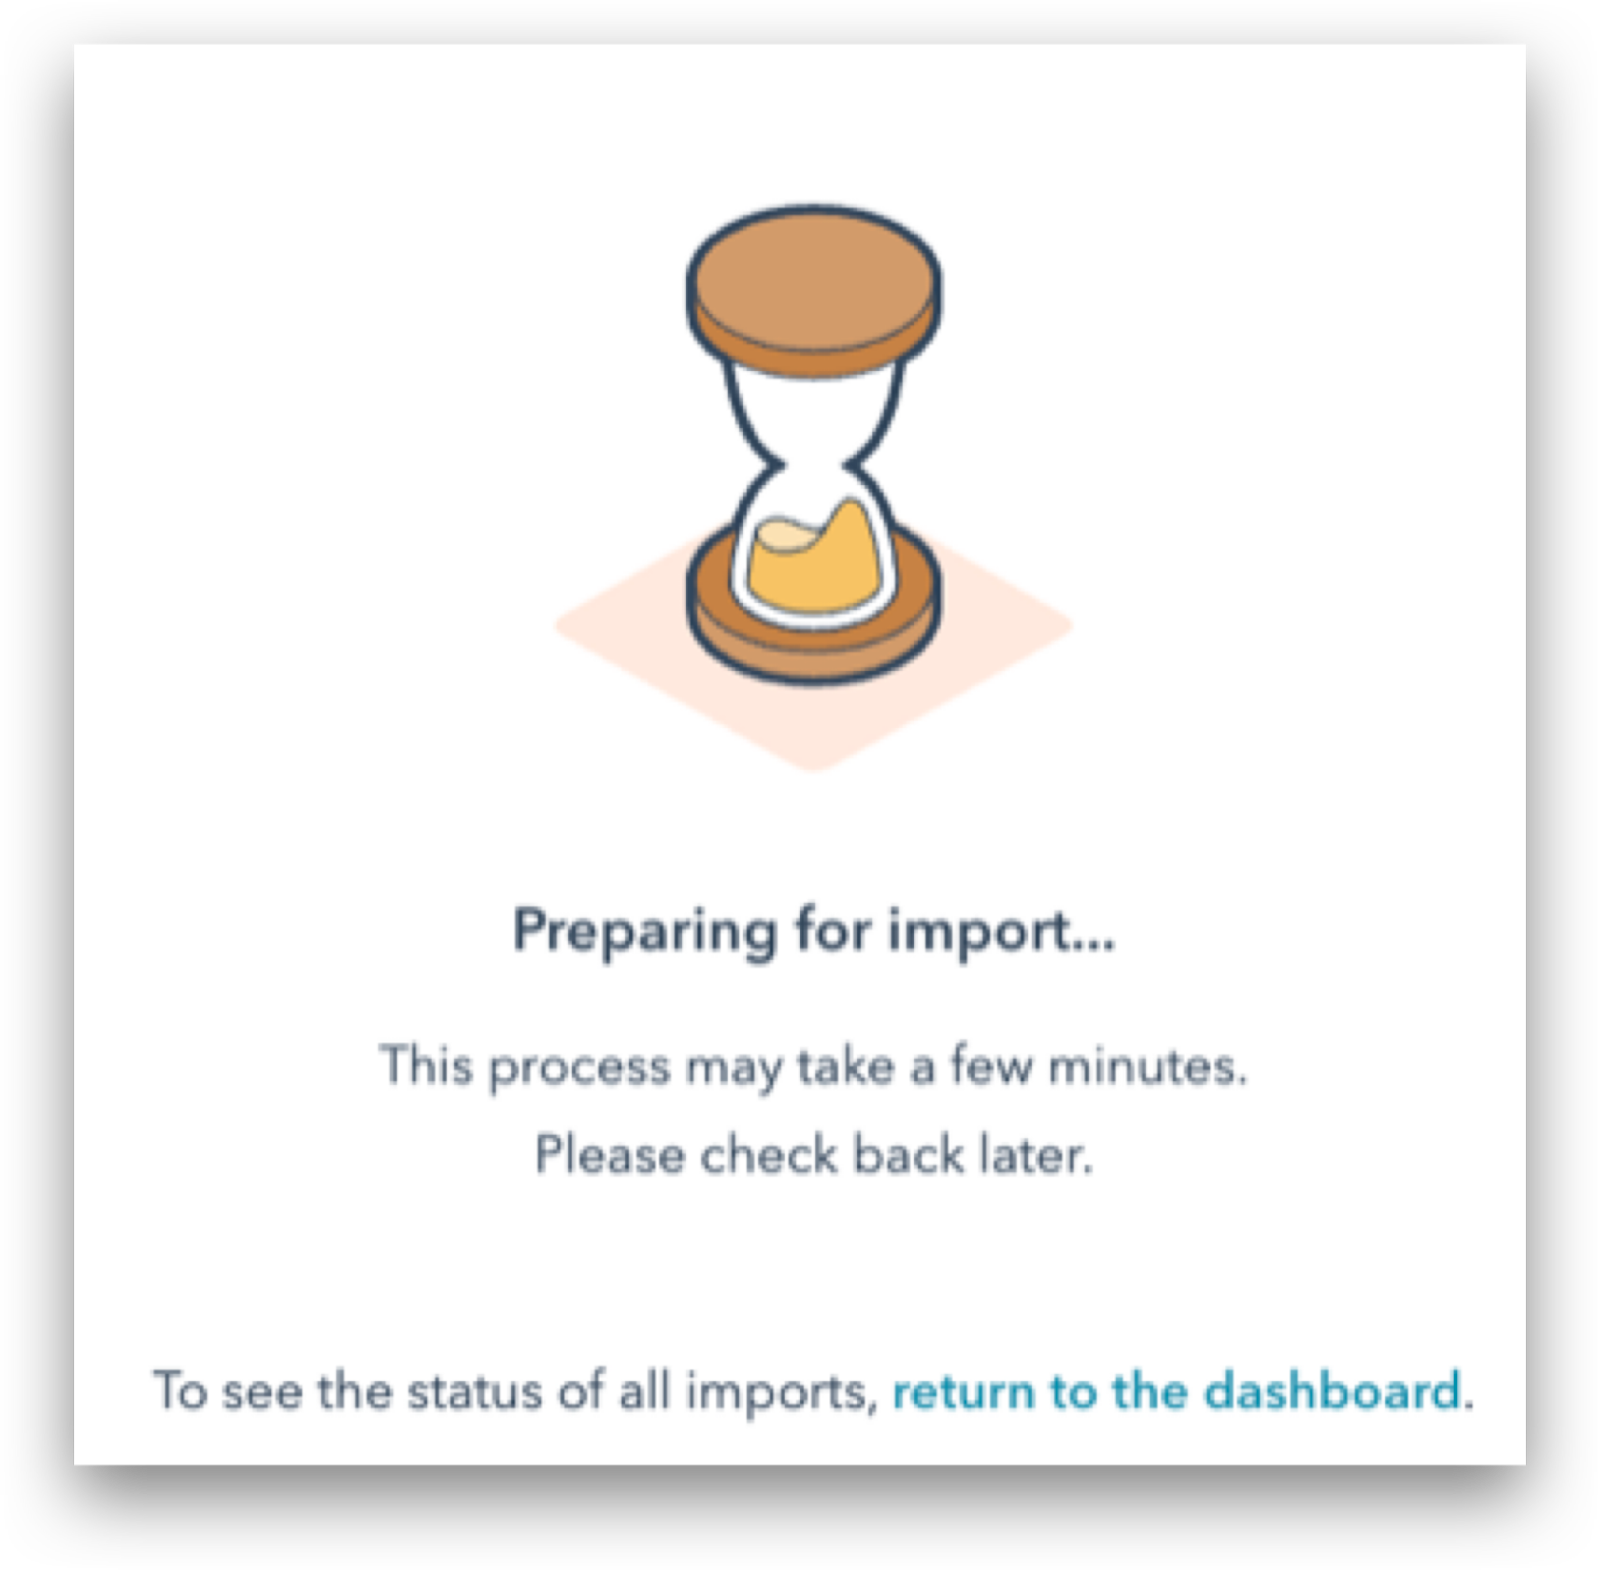
Check the dashboard. When your blog is ready for import, click Review results.

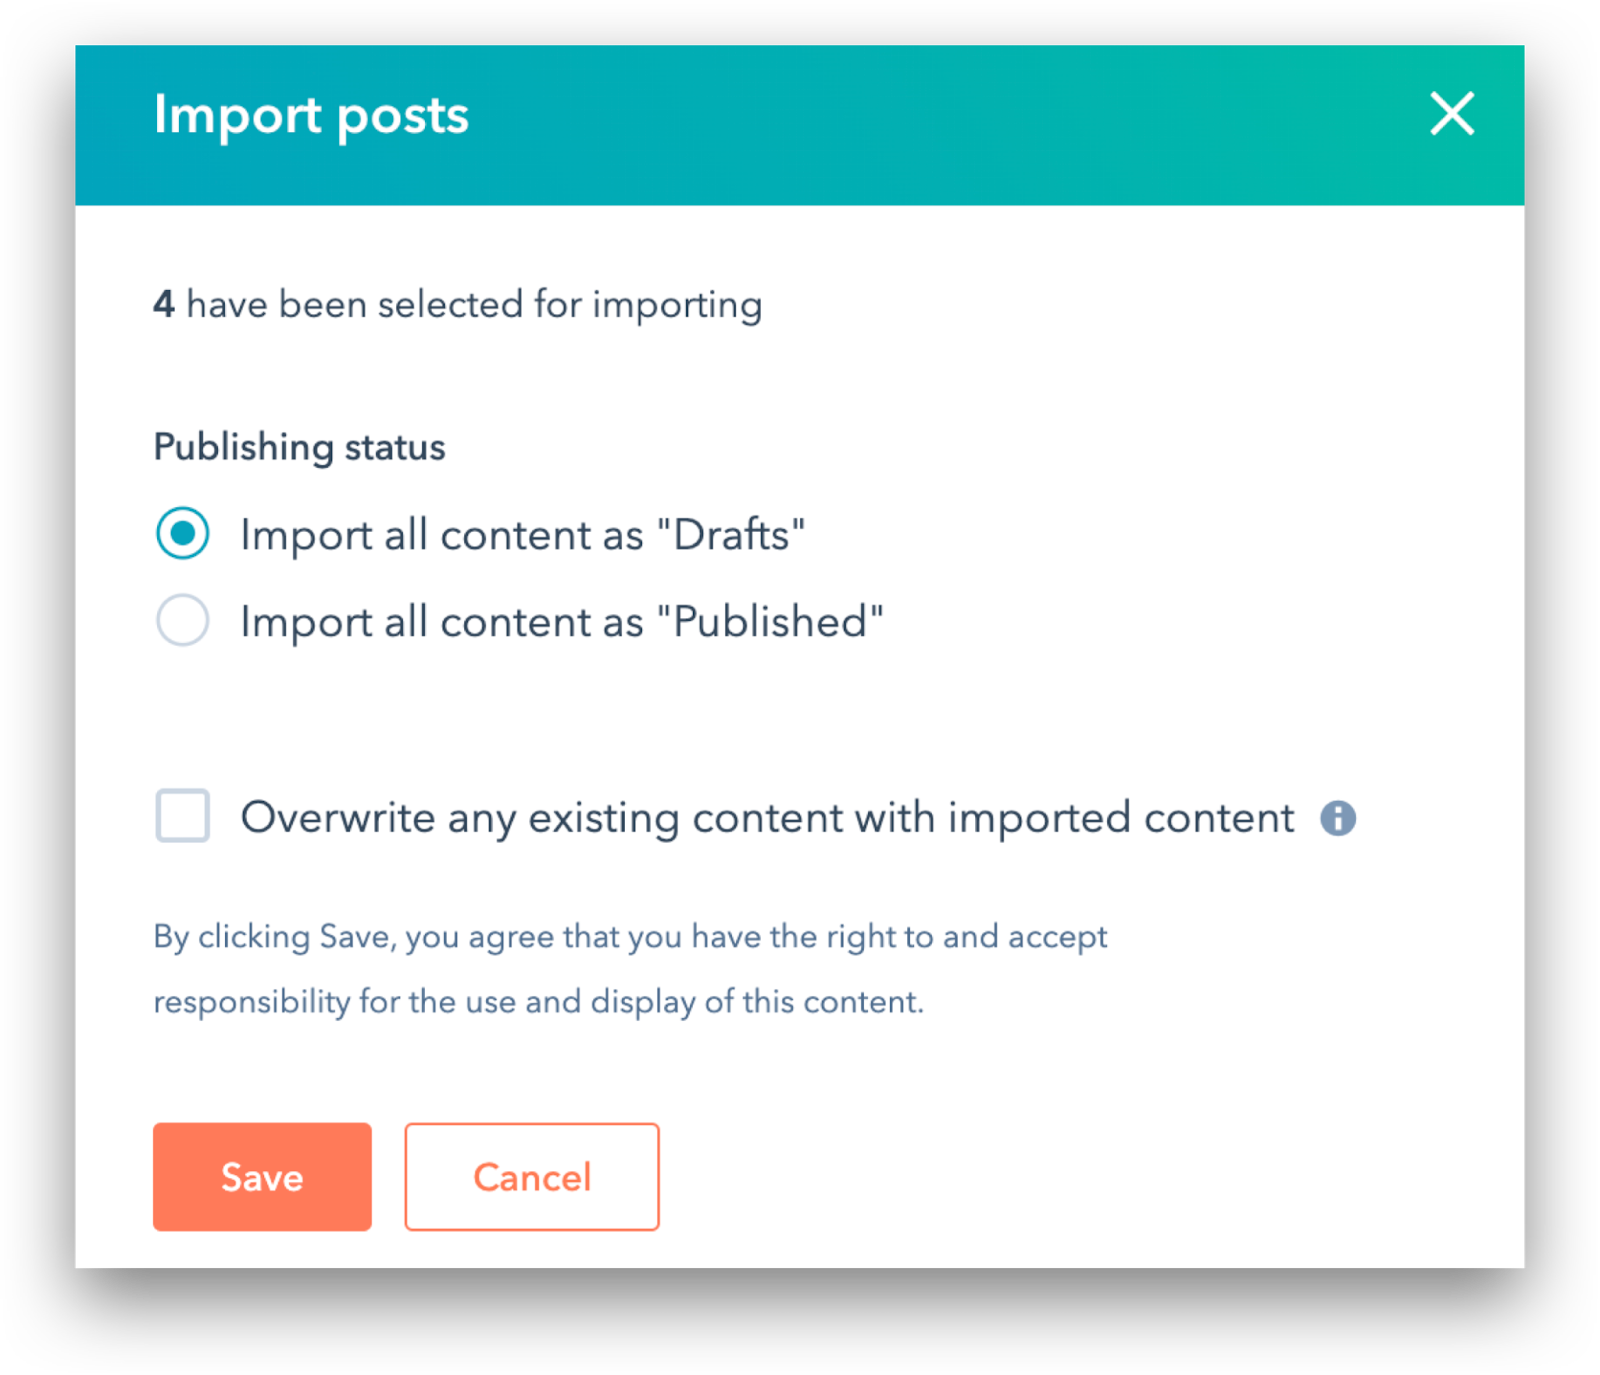
Then select the posts you’d like to import and hit the big orange Import button.
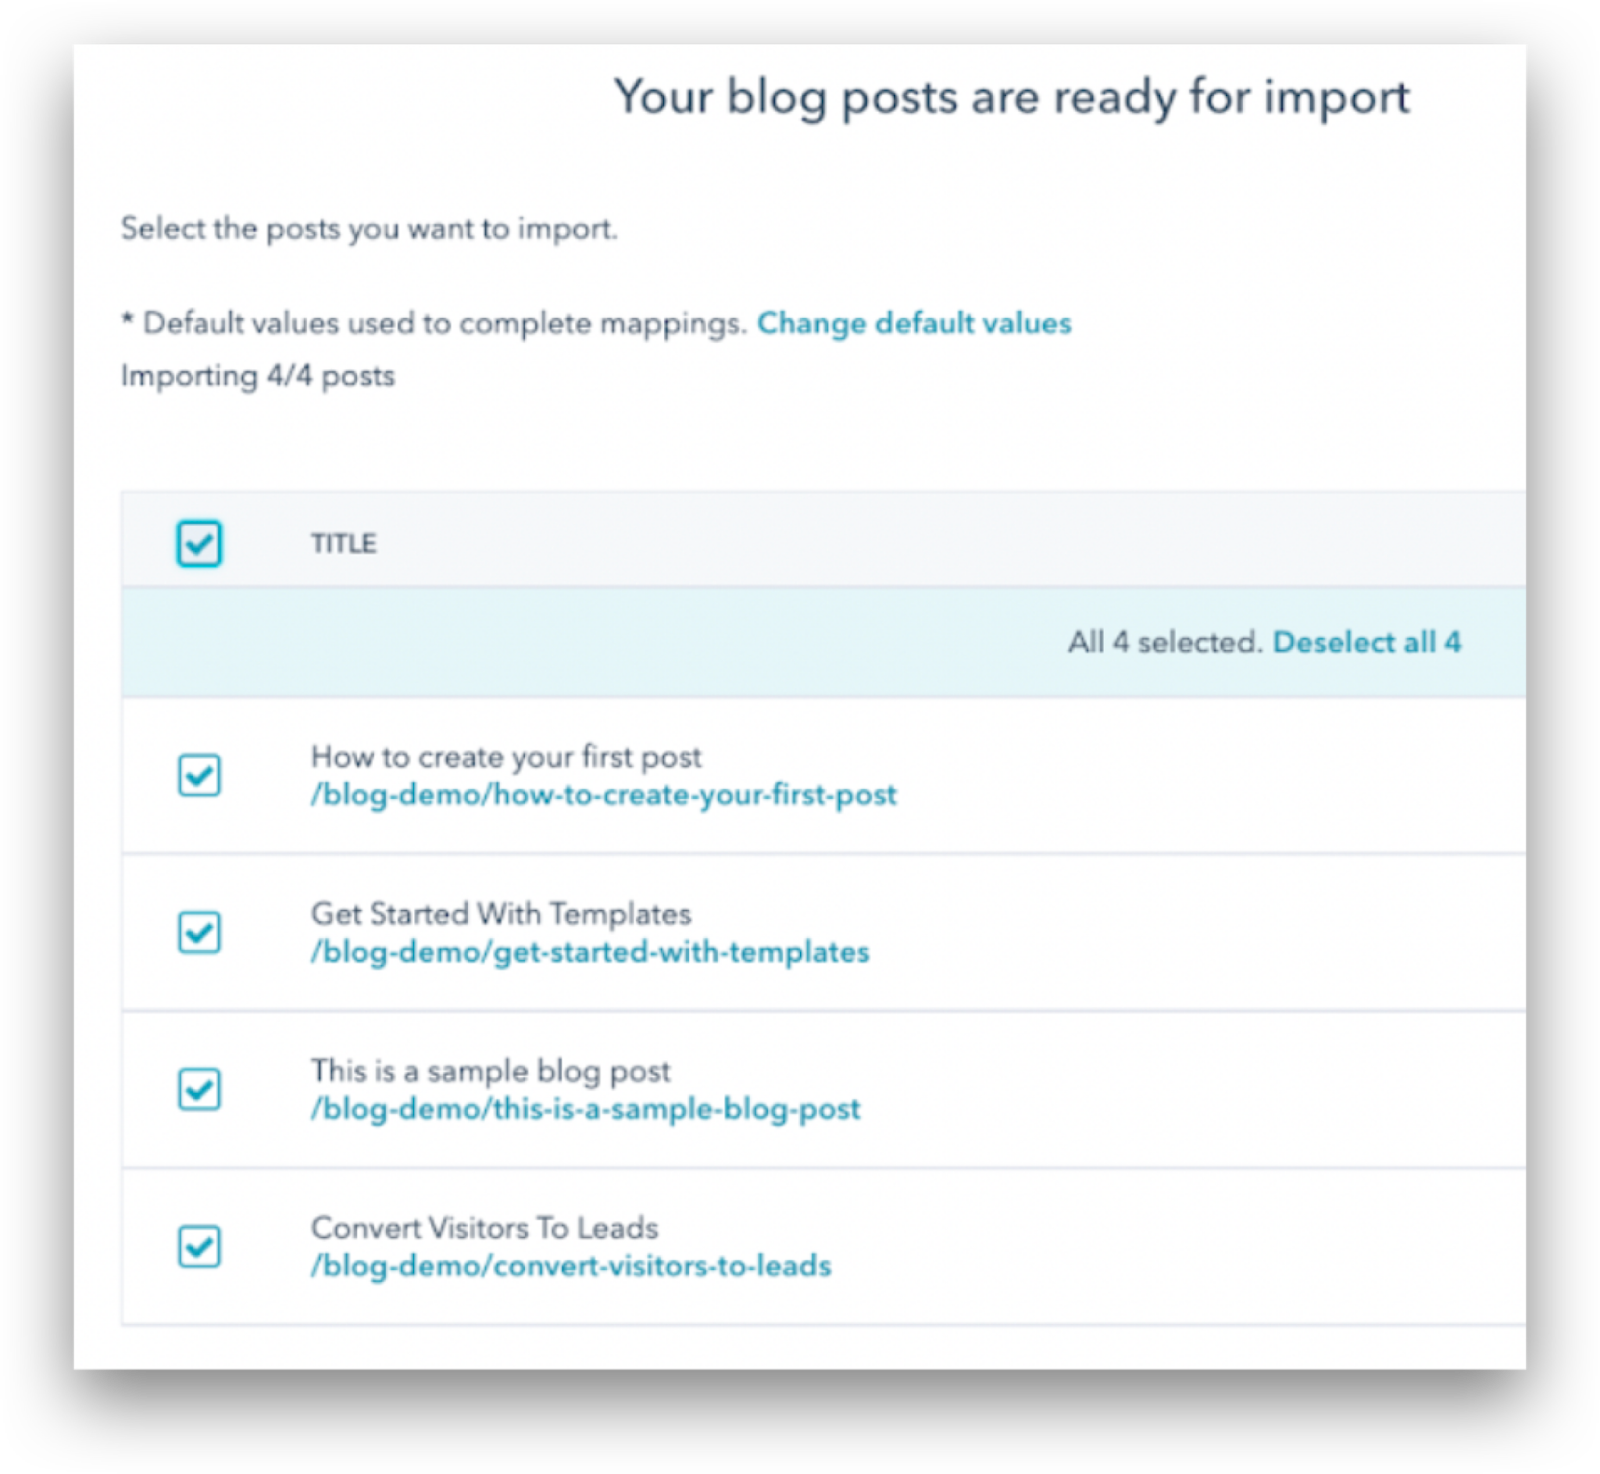
Import your posts as drafts!
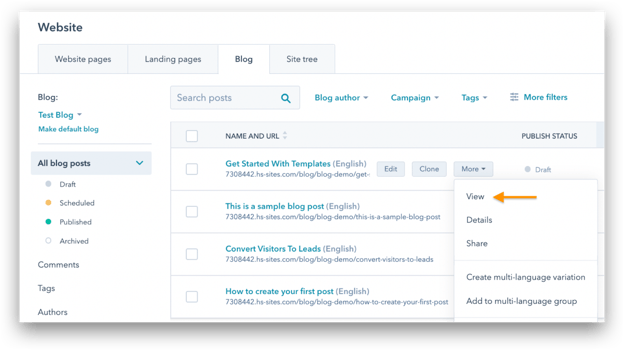
Once they’re all imported, click View posts to see your new blog drafts.

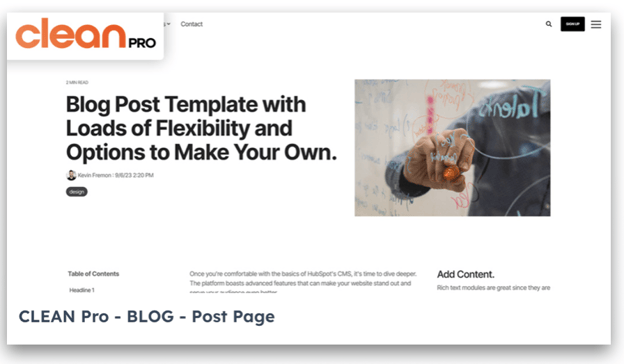
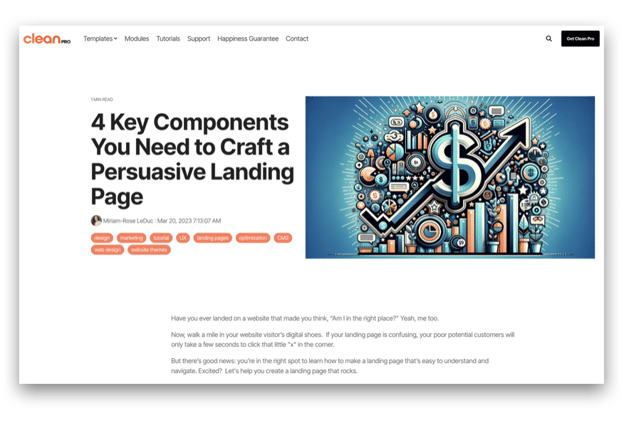
Hover over any post, click more, and then view to preview.
And tada! All your copy and CLEAN styling should be there.
Since you’ve imported your posts as drafts, you can go in and edit the content slug or metadata before taking it live. Or leave it as is. Up to you. :)
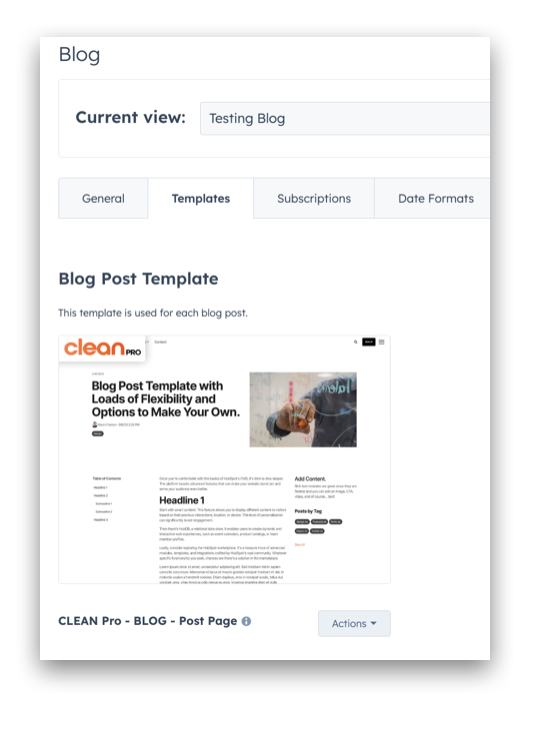
You can also edit the theme or templates for your blog anytime by going into your settings, then find Website and Blog in the column on the left. Select the blog you want to edit, head to the templates tab, and edit away.
P.S. Importing your whole website into HubSpot? Click below to get our complete walkthrough for FREE.