Here’s how to get yours up to speed.
Note: Content Filter Opt 2 has been removed from CLEAN Pro. It has been replaced by the all-new Versa Cards module.
If you want your website to be a breeze to navigate, the content filter module is for you. It groups and sorts content so your website visitors can find what they’re looking for in seconds.
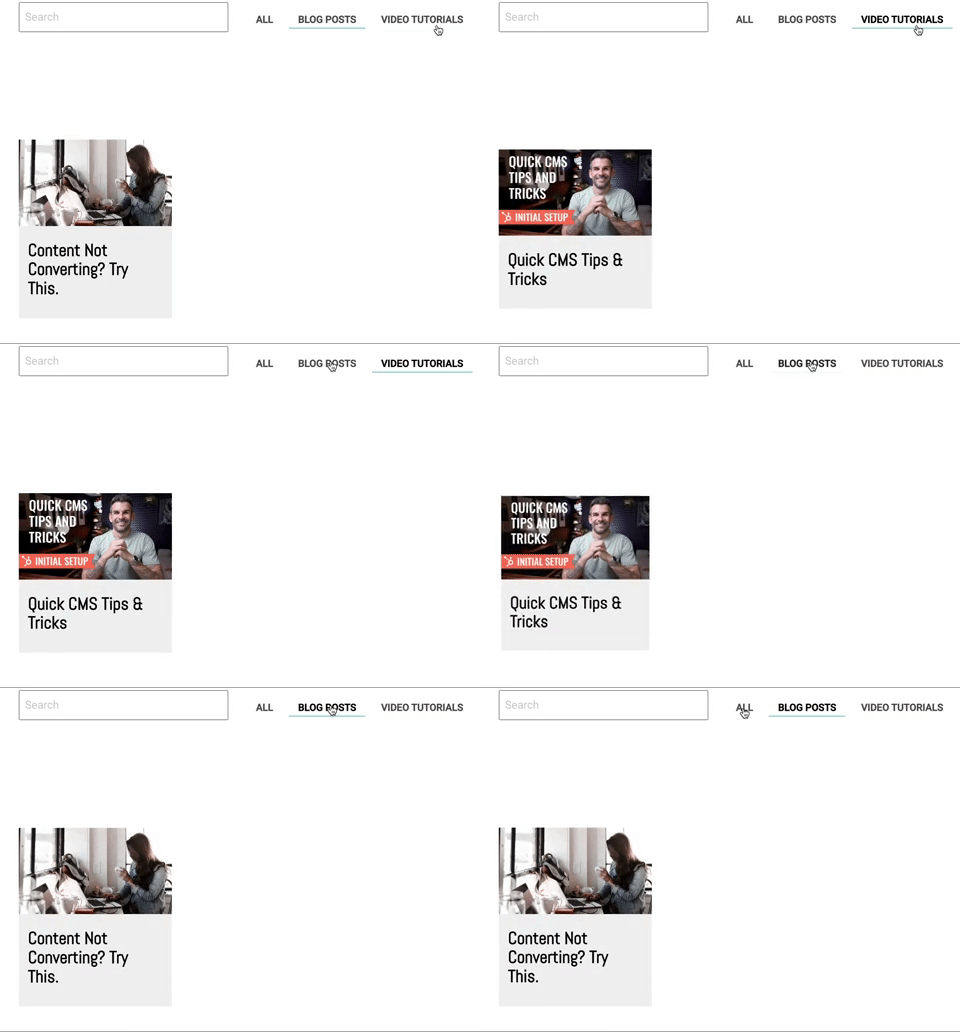
CLEAN comes with two versions of this module: one without a search box (Opt. 1) and one with (Opt. 2). Pick whichever floats your boat and drag and drop it onto the page.

Next up: add your filters.
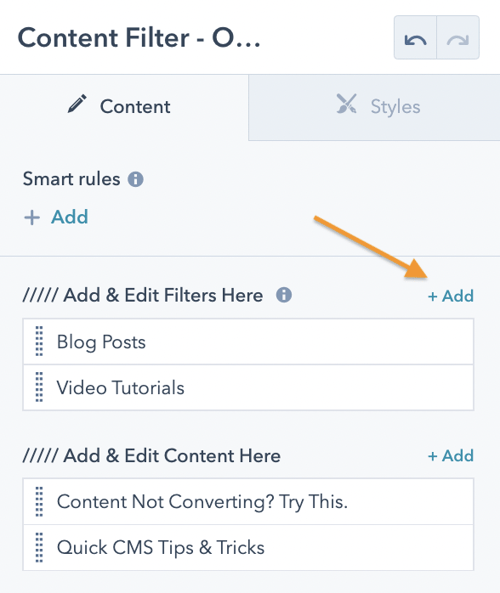
How do these little buggers work?
The Filter Name is what your website visitors will see on the page. The Filter Class is an ID used to categorize content on the backend (kind of like a file folder). So, I have “Blog Posts” as my filter name and “blog” as my filter class.
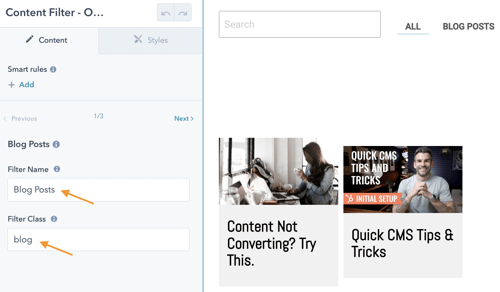
IMPORTANT: don’t use a space in your filter class, or the internet will explode (Nah, not really. But you’re still better off without one).
Now that you’ve set up your filters, you’re ready to add the meat and potatoes: content.
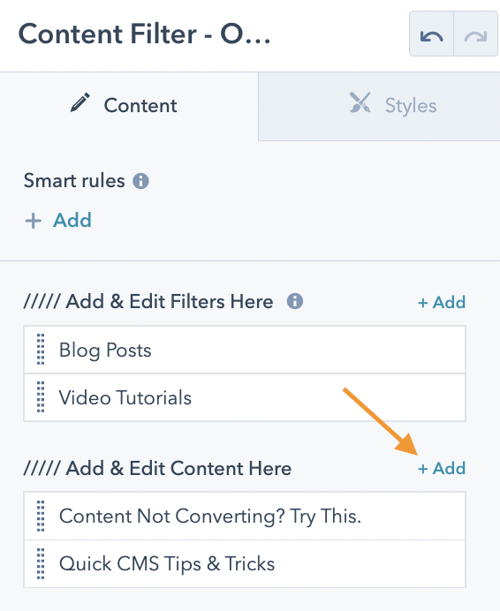
Give it a title and image, then link to a webpage, file, blog, video, etc. The sky’s the limit here, just be sure to drop it into the right file folder (filter class).
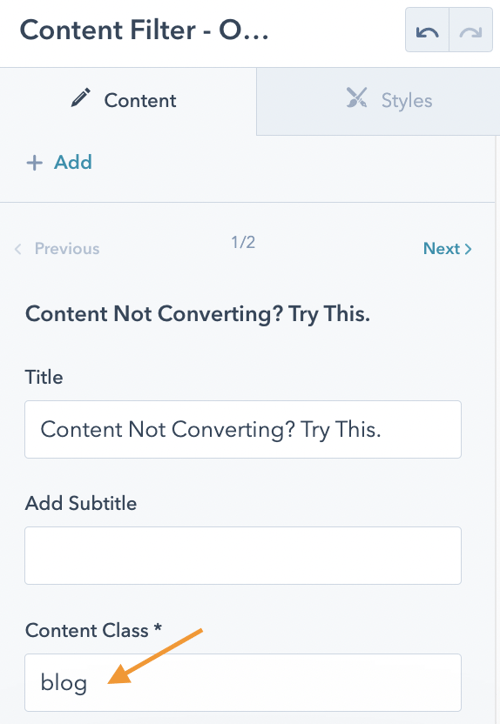
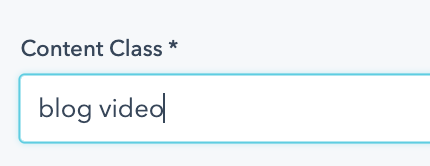
What if the card belongs to two categories?
Easy. Simply add multiple Content Classes, and you’ll be off to the races. Each only needs to be separated by a space (ie. Don't use a comma).
Another pro tip: if you’re using Opt. 2, the search box returns content titles (not categories). So, choose wisely. What might your customers search for?
Congrats! Now you’re organized. Marie Kondo would be proud.

