You could take a few approaches to add your Facebook pixel to your website.
First things first: let’s set up your Facebook pixel.
Step 1: Set up your Facebook pixel
Go to your Facebook Business Manager and click the little gear icon in the lefthand column to navigate to Business Settings.
Toggle the arrow under Data Sources and select Pixels.

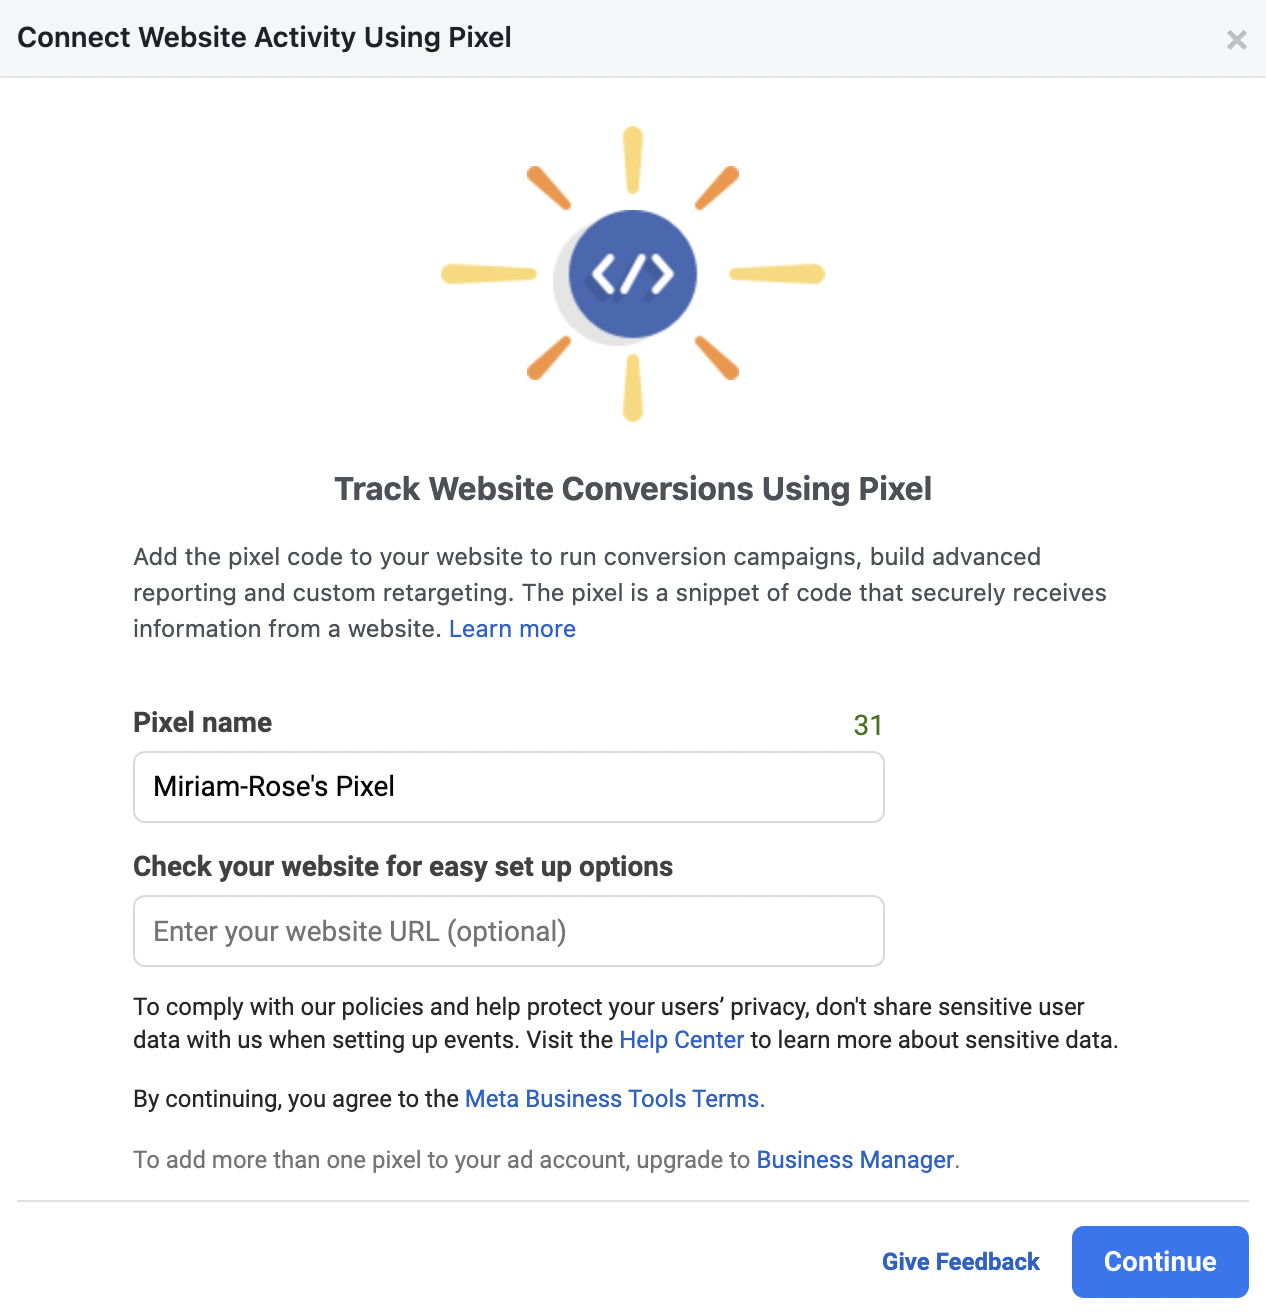
Create your pixel, give it a name, and hit continue.
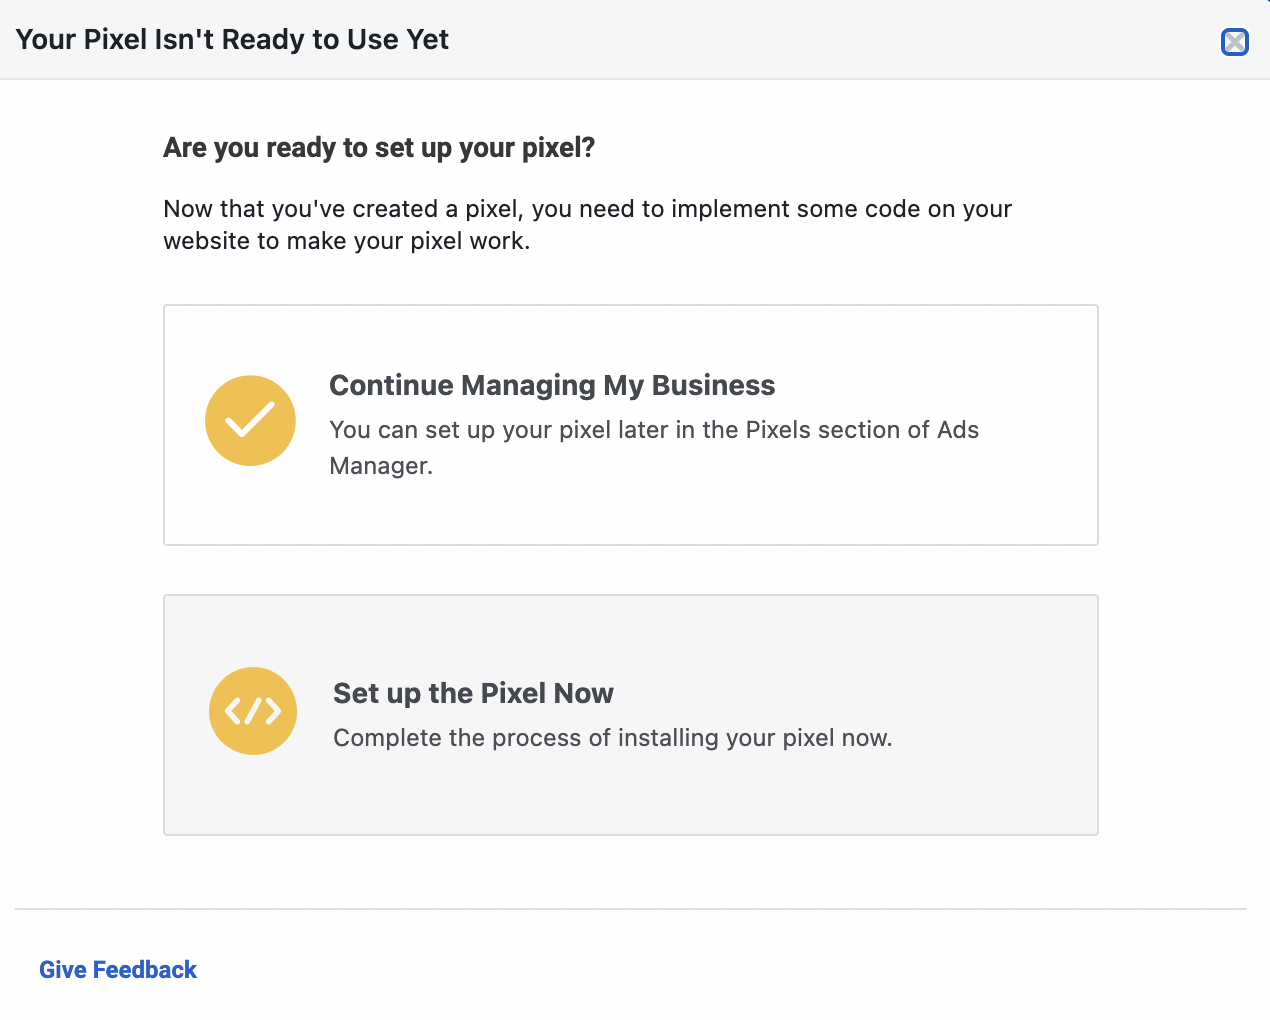
Click Set up your pixel now.
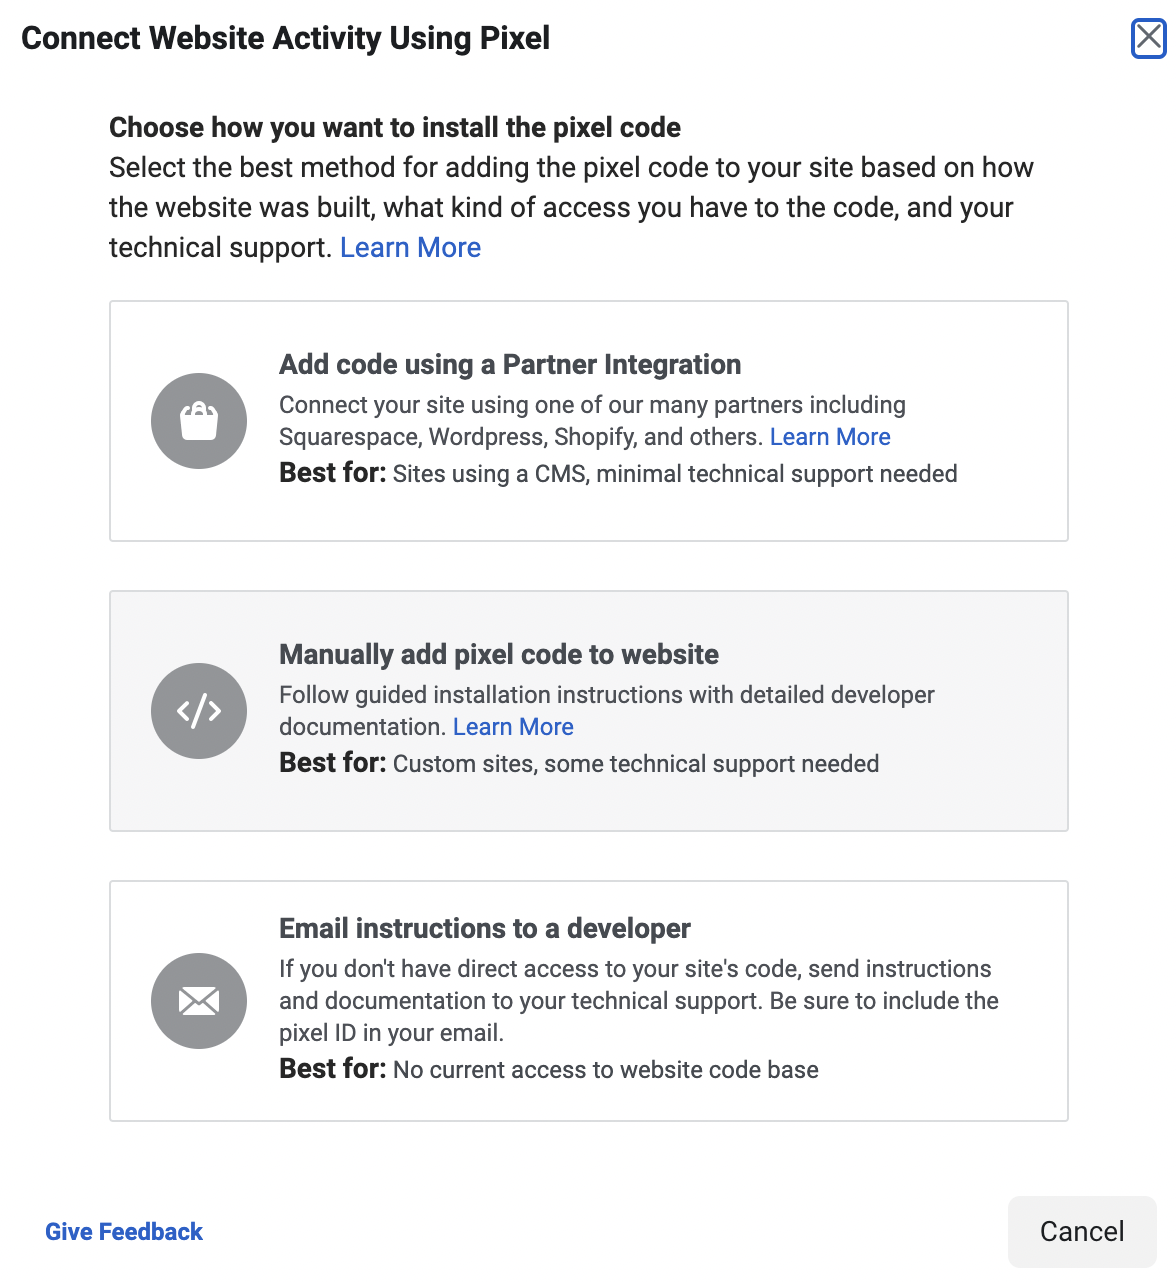
Let’s manually add the pixel code to our website.
Hover over the code, and click to copy it.

Now you’re ready to add your pixel to your website.
Step 2: Add your pixel to your site.
Now that your pixel is ready to rock, you’ve got two options.
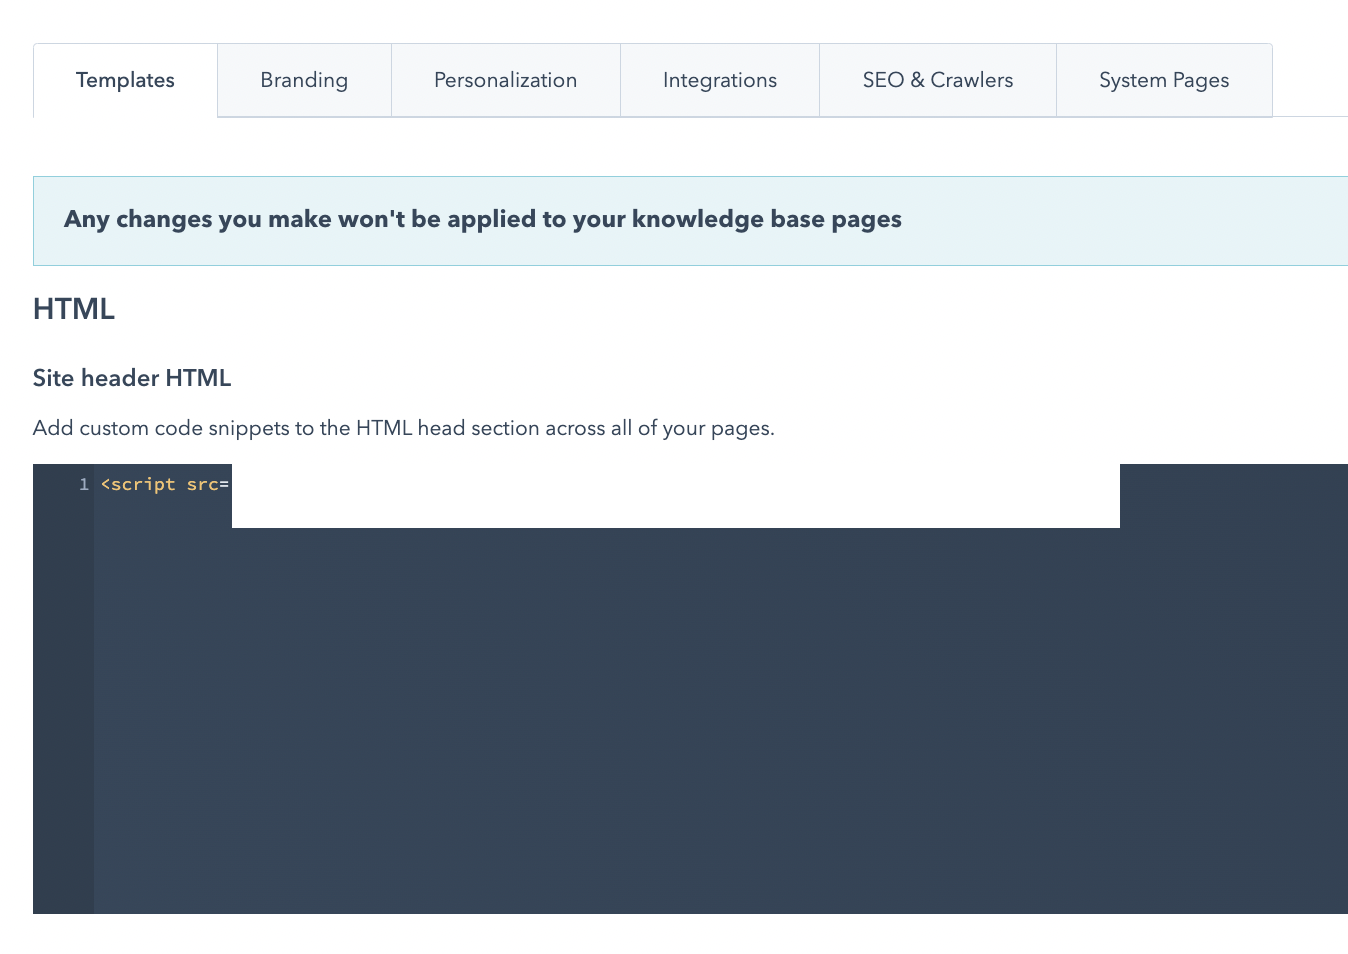
Option A: Add your pixel to your entire site
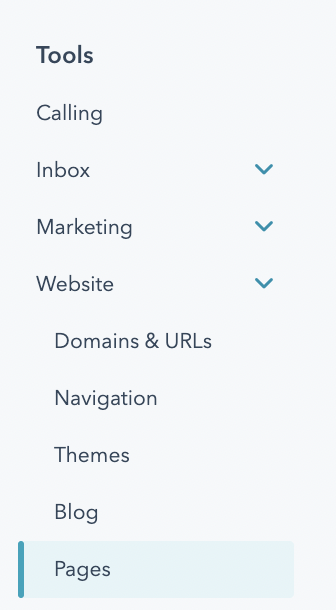
Head to your HubSpot Content Settings by hitting the gear icon in the upper right. Then toggle the arrow under Website, and click Pages.
Under the Templates tab, paste the code into the site header HTML.
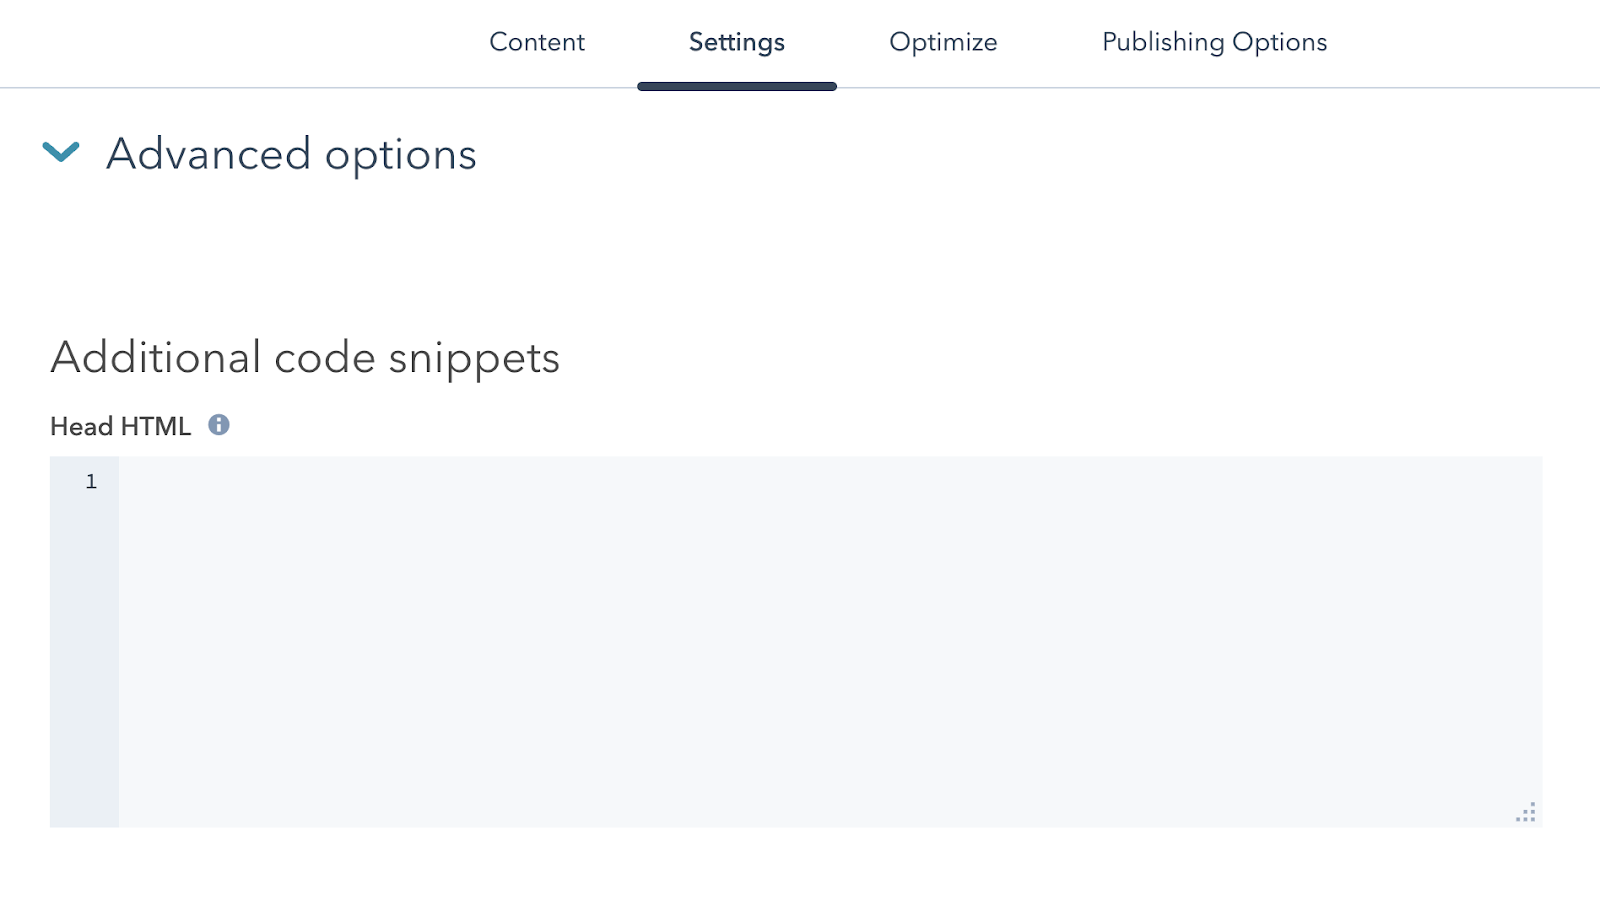
Option B: Add your Pixel to a specific page
In the HubSpot CMS, head to your page editor. Click on the Settings tab, then scroll down to the Advanced Features dropdown and paste the code in the head HTML section.
Important Caveat:
There is a third option for adding an external pixel to your site if you have an ads account already connected to HubSpot (and you’re the user who set it up). You can install the pixel directly through HubSpot, but this method doesn’t support Facebook event codes.
Pick ONE method (through HubSpot or manually) so that your pixel doesn’t fire twice and give you inconsistent results.