The short answer is yes! Here’s how to set it up.
Step 1: Set your website’s primary language
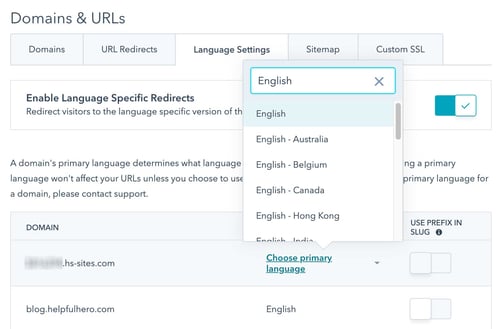
Start by choosing a primary language for your website.
Go to Settings → Website → Domains & URLs, then find the Language Settings tab.
Scroll down to the domain or subdomain you want. Toggle the down arrow under Choose primary language to set this.
Step 2: Build your translated pages
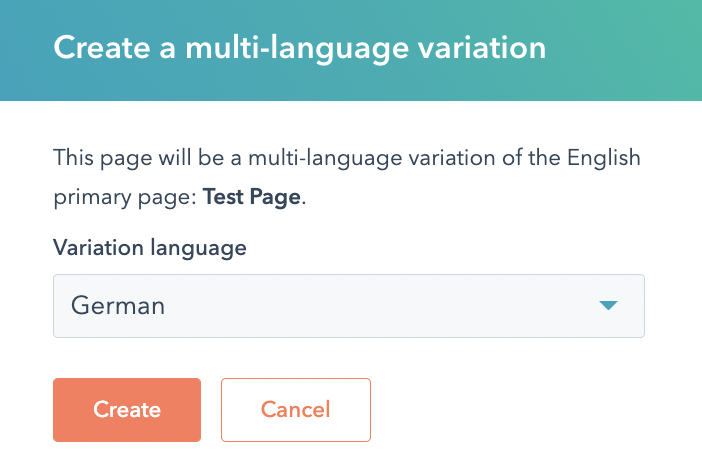
Go to your Marketing tab, then Website → Website Pages. Hover over the page you want to edit, then toggle the More menu and select Create multi-language variation.

Select the language you want from the dropdown menu.
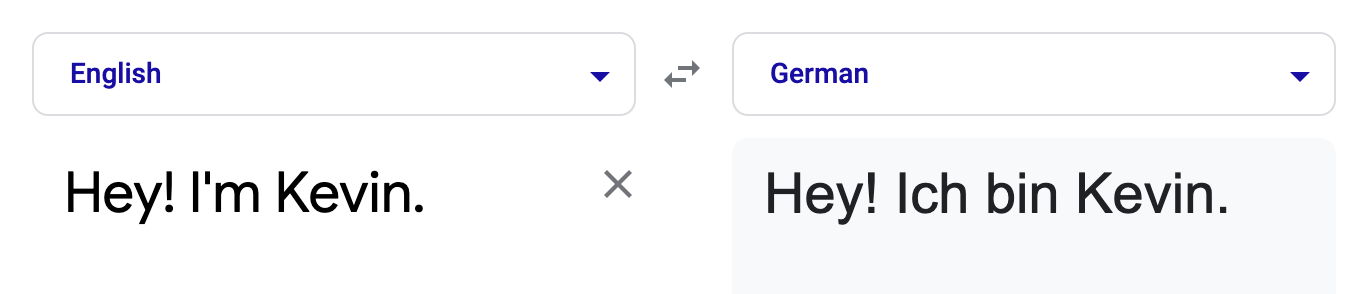
You’ll notice that the copy on the page won’t automatically translate for you (you’ll have to write it yourself or get some help with this). We suggest starting with Google translate and then finding an expert to do any copy tweaks for tone.
To switch between language versions, toggle back and forth in the page editor.
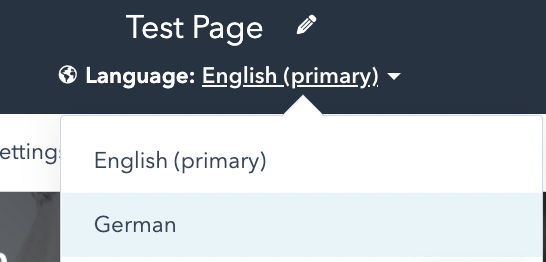
Pro-Tip: make sure you’re viewing the correct version before making any changes!
In your website page navigation, you can see which pages have translated versions by looking for the little globe icon.

Leave your page in draft mode for now.
Step 3: Set up your menus
Click on the Settings gear icon, look to the Website category in the column on the left, and click on Navigation.
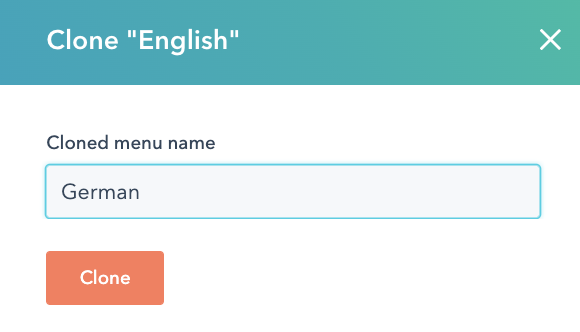
Select the menu you want to work with, click the Actions button, then hit Clone.
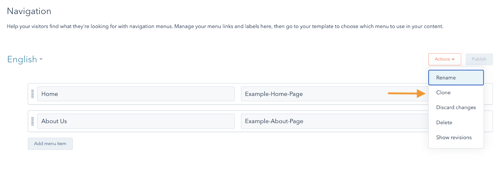
Rename the cloned menu to reflect the language you need.
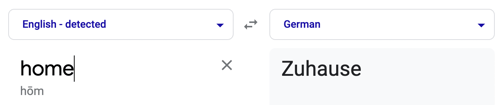
Pop on over to Google Translate to get your new menu names going.
Make sure you link to the translated versions of your pages! Even if your pages are still in draft mode, you’ll be able to publish and preview your menu.
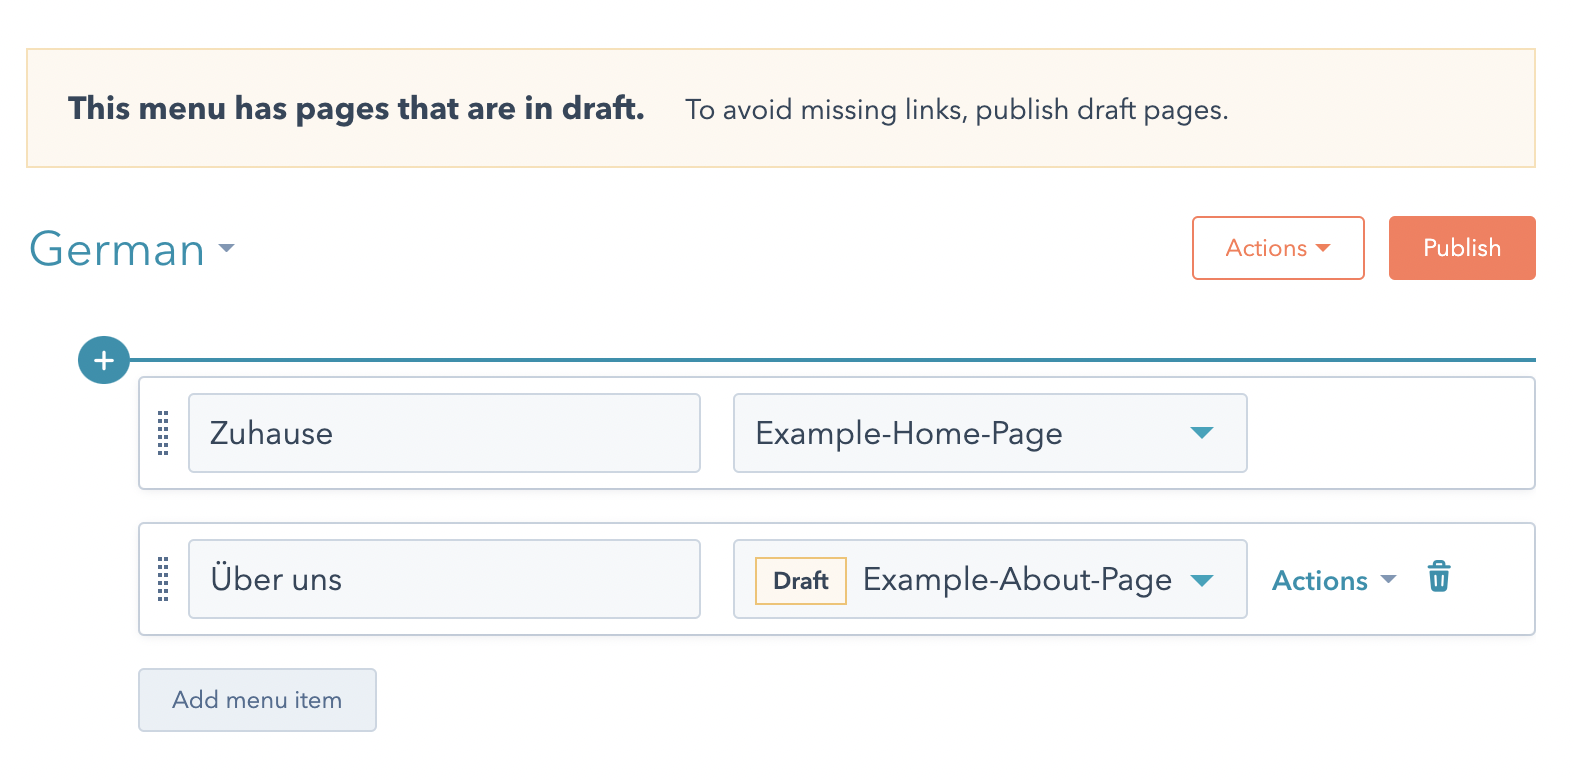
Note: publishing your menu does not make it live on your website. You won’t see your translated menu until it’s added to any of your published translated pages.
Step 4: Set up your CTAs
You’ll need to create translations for your CTAs as well. You can either:
- Clone your simple CTAs (creates a static version someone will see every time they visit a translated page, regardless of their browser preferences).
- Create smart versions of your CTAs (updates dynamically based on your visitor's preferences).
The version you choose is up to you and your use case.
To set up CLONED CTAs:
You can apply these simple CTAs to any of your translated pages. For example, you can have a French CTA for your French menu and a German CTA for your German menu. Keep in mind that these CTAs are static and won’t update dynamically based on any contact properties.
Go to Marketing → Lead Capture → CTAs to get started.
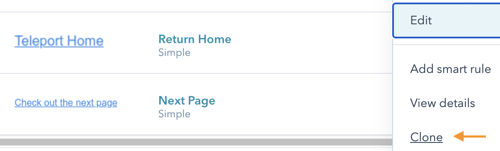
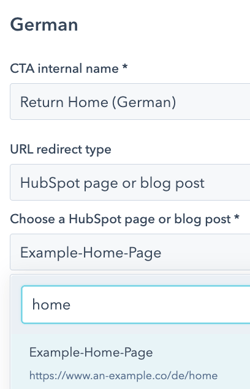
Hover over the CTA you want to translate, click Actions, then Clone.
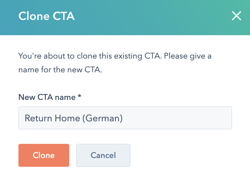
Name the CTA anything you like. It may help to include the language in the title.
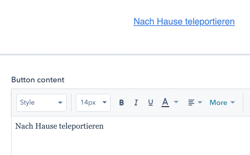
Pop that puppy into Google Translate and edit the button name.
Choose a destination for your CTA, then hit next.
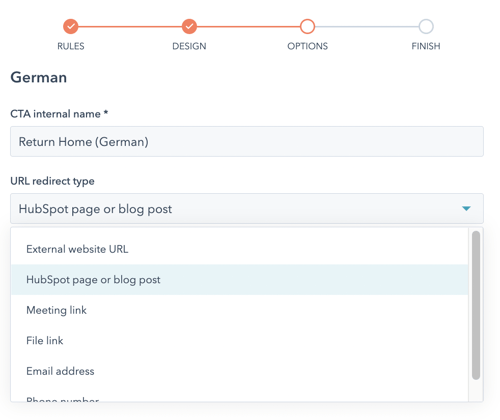
Note: If you need your CTA to link to one of your translated HubSpot pages, you'll have to wait until the page is published. Link to the default version of the page for now and we’ll come back to this.
To set up SMART CTAs:
Smart CTAs are sweet because they update dynamically depending on contact properties. In this case, we could set up one smart CTA that would dynamically change based on the preferred language your viewer set in their browser.
Go to Marketing → Lead Capture → CTAs to get started.
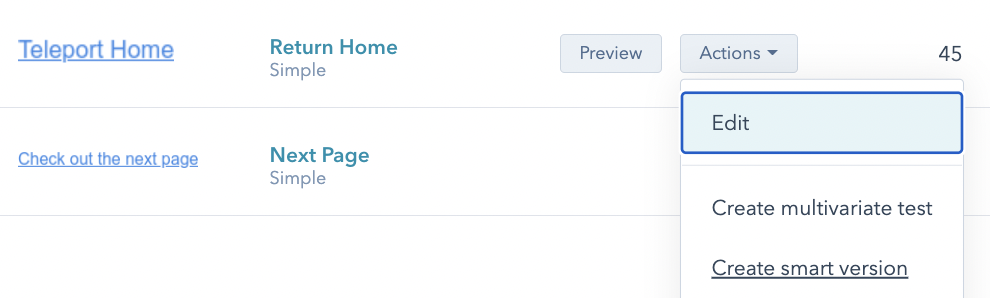
Hover over the CTA you want to edit, click Actions, and then Create smart version.
Next, select the rule you want to apply.
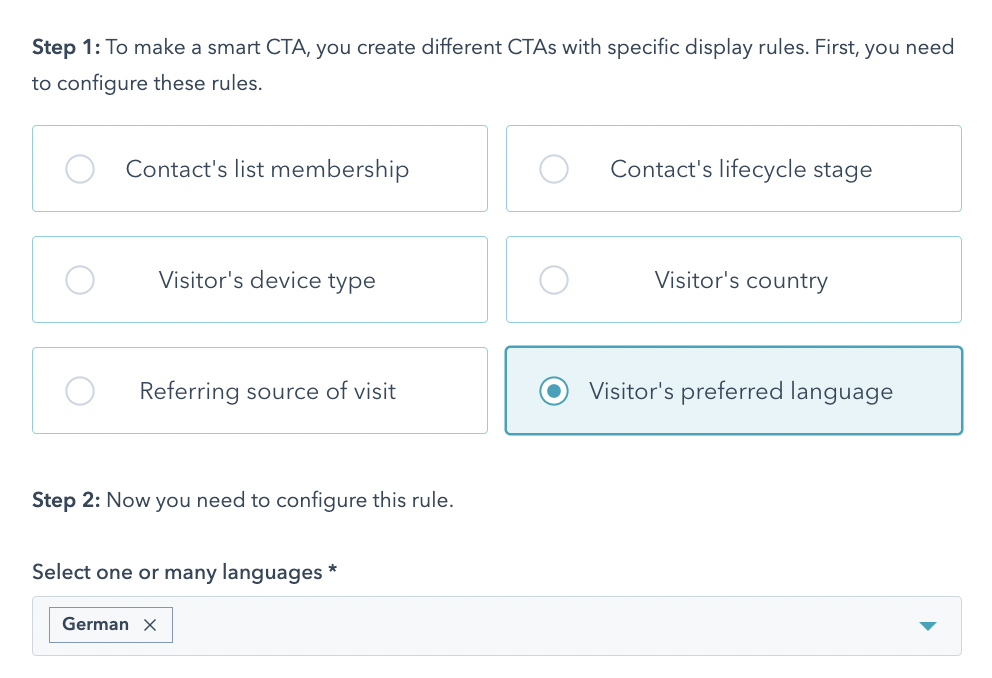
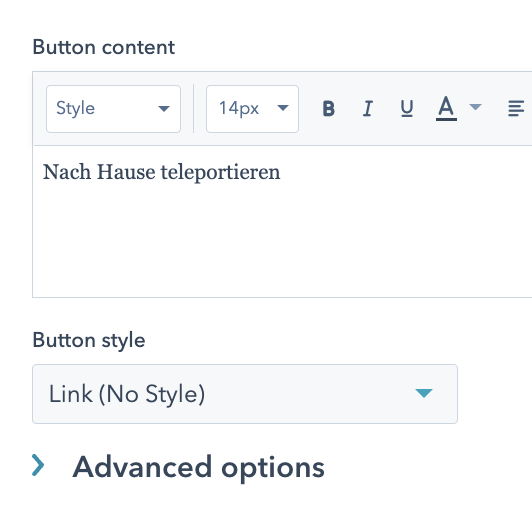
Head over to Google translate to determine what text to use.
If you want your CTA to link to an internal translated page, link to the default version of the page for now, and we'll switch those page links in a minute.
Repeat the steps above to create an additional smart rule for each language you wish to display.
Step 5: Update your global header
There are two ways to make this happen:
1) In HubSpot's global content editor
2) In CLEAN's built-in feature
HUBSPOT OPTION
This option is preferred if you're working with CLEAN's mega menu module. Keep reading for more on that.
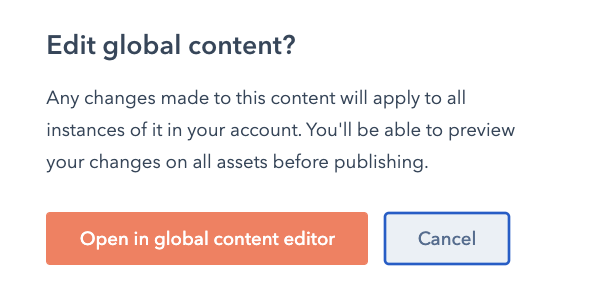
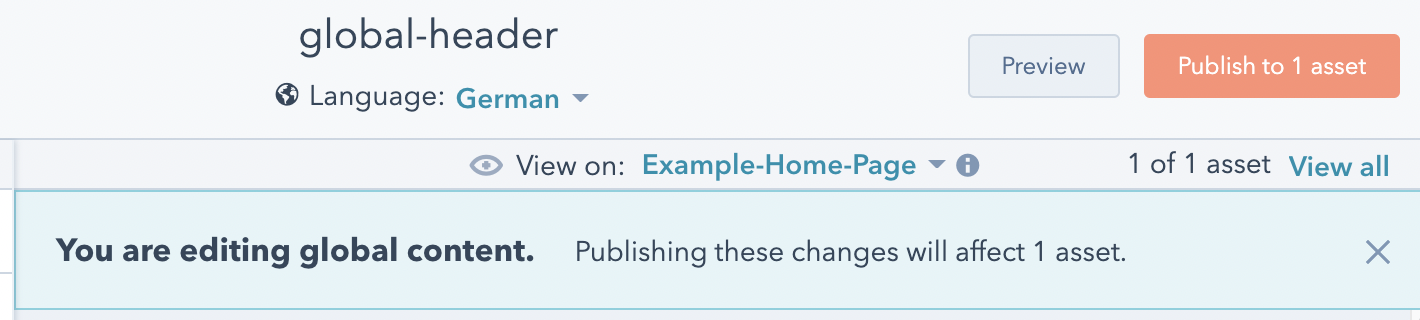
Open your page editor for any translated page and click on the header. Smash that orange button to open the global content editor.
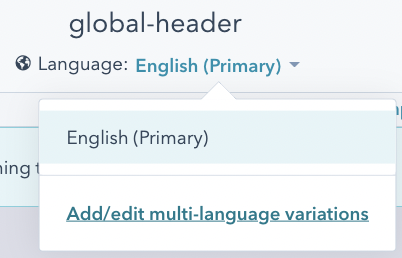
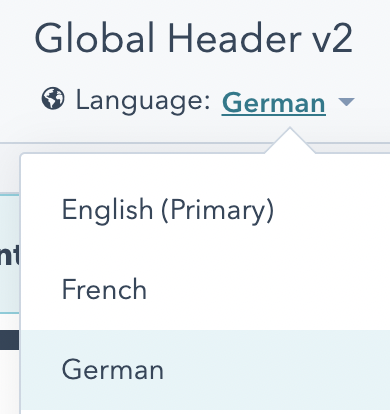
Click the language dropdown at the top of the page, and select Add/edit multi-language variations.
On the right-hand side of your page, click Add a language variation.
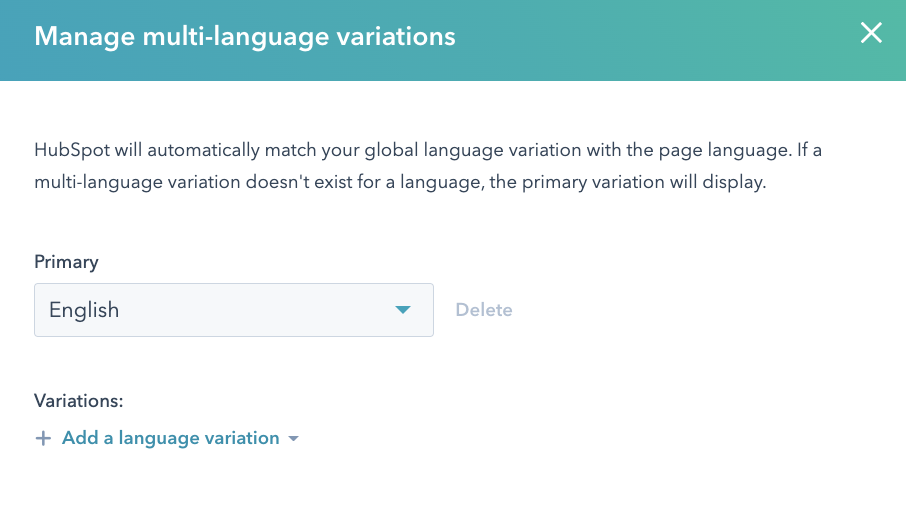
Add your language and click save.
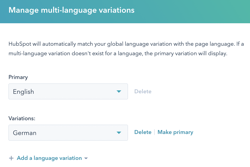
Select the language version you want to edit...
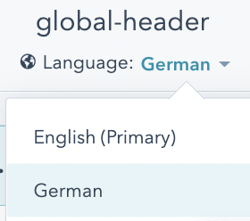
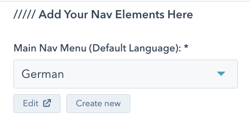
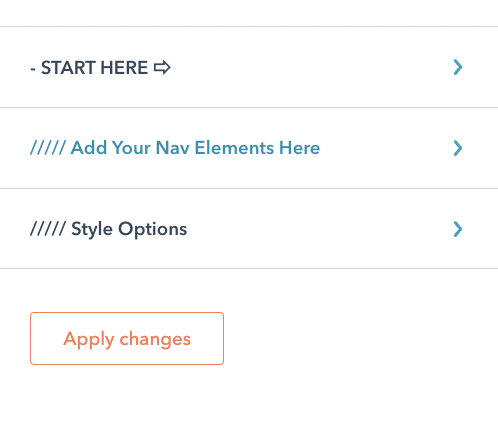
...then look to the column on the left under Add your Nav Elements Here. Hit the drop-down and select the translated menu you set up in Step 3.
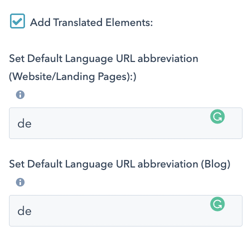
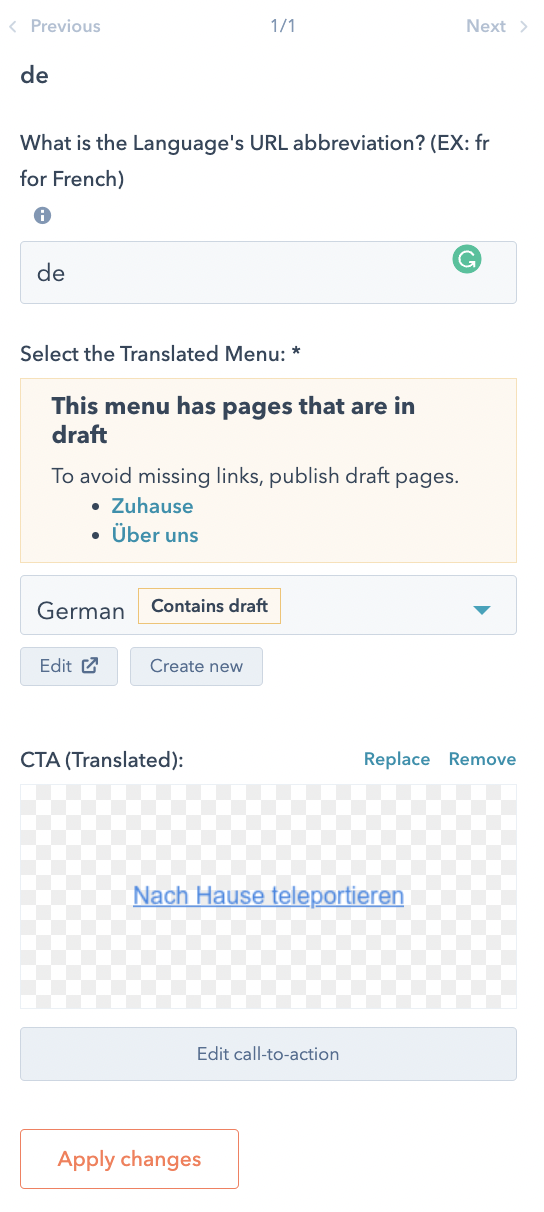
Set your language abbreviations at the bottom of the lefthand column. For German, this is de. Not sure which language code to use? Check out this cheat sheet.
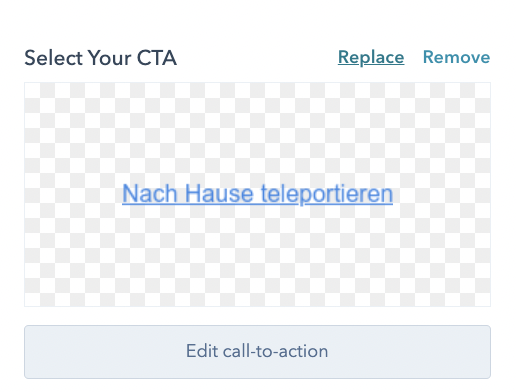
Add the CTA you’d like to appear (simple or smart, depending on your preference) by clicking Replace and selecting the CTA you want.
Go ahead and publish this menu. HubSpot will automatically associate your translated pages with any translated menus, which is super cool and convenient. Your translated menus will not be visible to website visitors until any associated translated pages are published.
Note: if you want to translate your mega menu, use this option! Here’s how you’d do it.
Once you’ve completed steps 1 - 4, go into your global content editor and make sure you’re editing the correct version:
Add the correct language codes in your navigation elements tab on the left.
You’ll see your mega menu down at the bottom of the lefthand column.
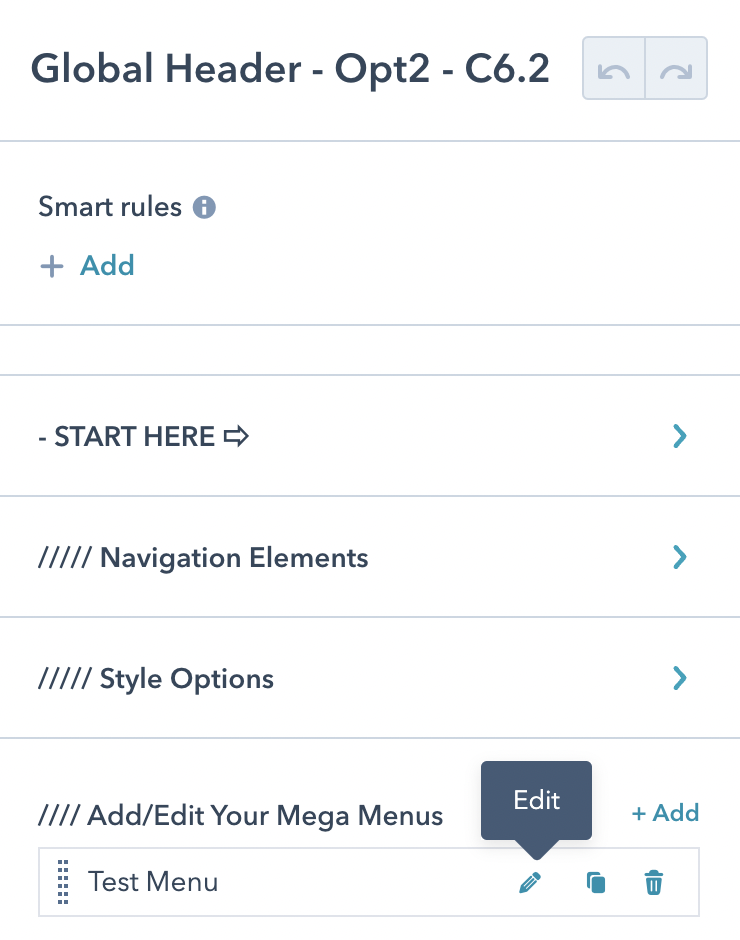
Click edit and rename it to reflect the language.
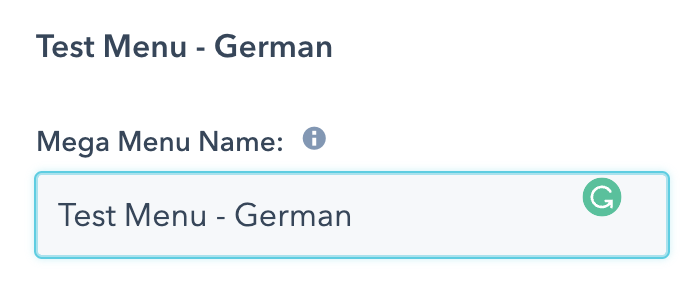
Now you can translate each menu item (similar to what you did in Step 3).
For more on how to create a mega menu, check out this tutorial.
BUILT-IN CLEAN OPTION
CLEAN has a built-in alternative way to add translated menus. The only downside is this native feature doesn't make it easy to translate mega menus. So, if you're using a mega menu, check out HubSpot's option above.
Otherwise, go to Marketing → Website → Website Pages, open the page editor for any page, click on the header, and select Open in the global content editor.
Then click Add Your Nav Elements Here on the left.
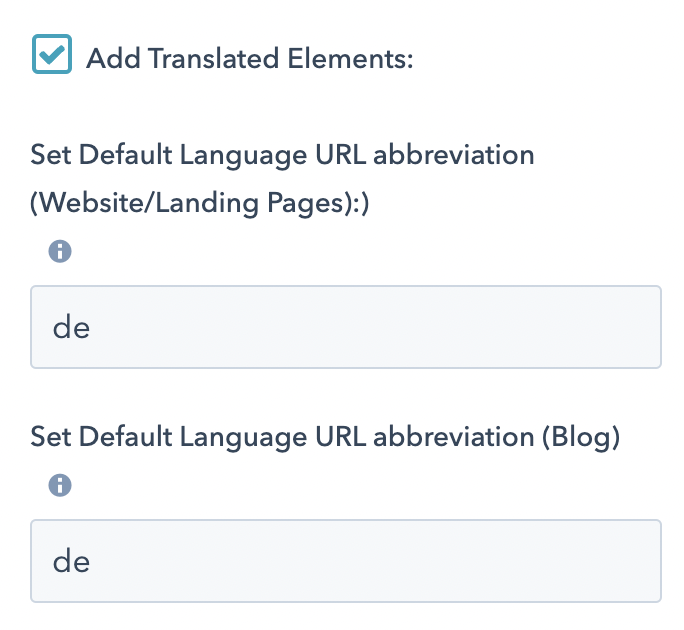
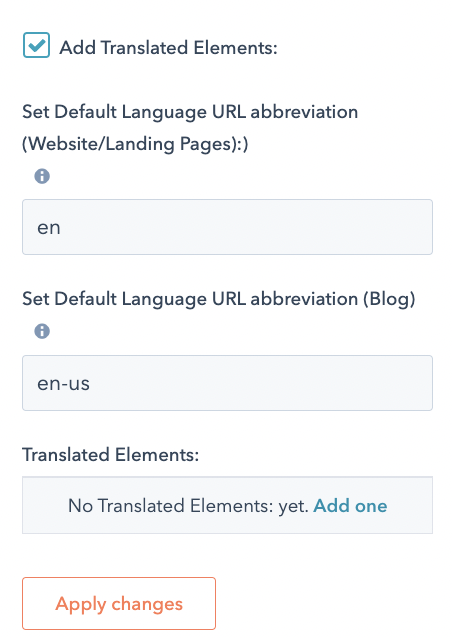
Make sure to select the Add Translated Elements box and put a value in the default language abbreviation box. For English, this is simply en.
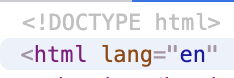
You can also find the language abbreviation by going to any of your pages, right-clicking, and hitting inspect. You’ll see the language under lang at the top of the HTML code.
Once you've filled in your abbreviated language code, click Add one under Translated Elements.
Here’s where you can add the translated menu you set up in Step 3.
Hit apply changes, then publish your menu. Don't worry if your pages haven't been published yet. We'll get there. :)
Add as many translated versions as you like, and publish each of them.
Step 6: Publish your translated pages
If you have an Enterprise subscription, you can do this in bulk.
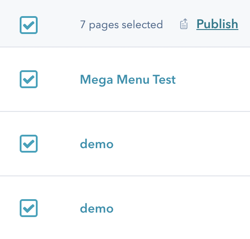
Otherwise, you’ll have to publish pages individually. Either way, as soon as the first translated page goes live, you’ll see a language switcher toggle show up on your live site, and all your translated menus will be visible along with the translated pages.

Step 7: Update your CTA links.
Everything else should be good to go, so hop back into your CTA editor (see Step 4) and update the pages/links for each translated version to correspond to their published translated pages.
Good job! You did it. And your global website visitors will thank you.